
 English
 简体中文
简体中文 Русский
 Español
 Deutsch
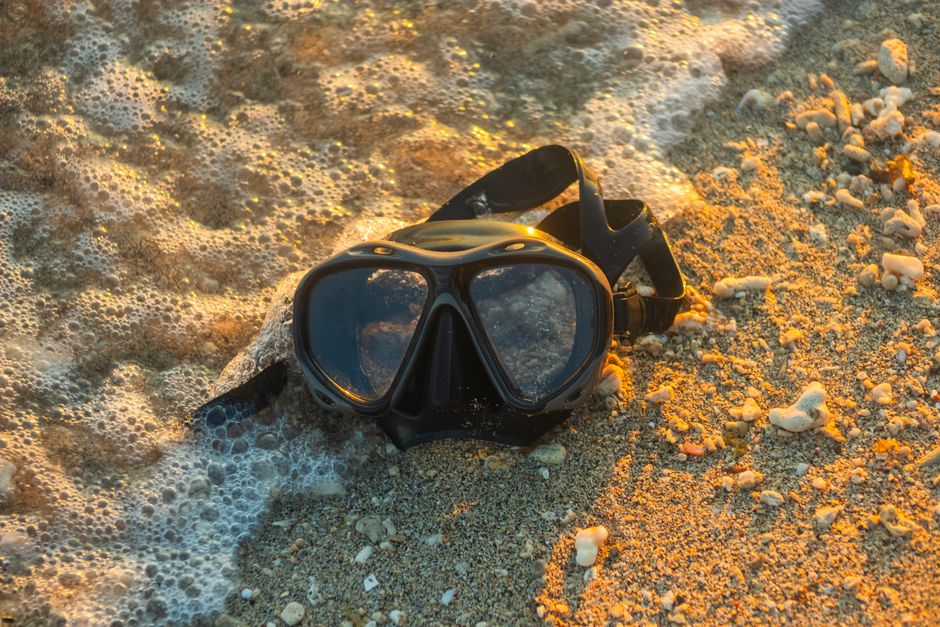
Why Cleaning Snorkel Gear After Saltwater Use Matters
Snorkeling opens up a breathtaking underwater world, but every dip in the ocean leaves your equipment coated in salt, sand, and organic residue. While saltwater itself is not immediately destructive, the salt crystals left behind after the water evaporates can be surprisingly damaging. They scratch lenses, stiffen silicone, corrode metal components, and create a breeding ground for mold and bacteria. If you want your mask, snorkel, fins, and wetsuit to last for many seasons, a consistent post-dive cleaning routine is non-negotiable.
This guide walks you through exactly how to clean snorkel gear after saltwater use, from the moment you step out of the water to long-term storage. You will learn the right tools, the correct techniques for each piece of equipment, and the mistakes that quietly ruin gear. Whether you are a casual vacation snorkeler or a frequent diver, these habits will save you money and keep every dive comfortable and safe.
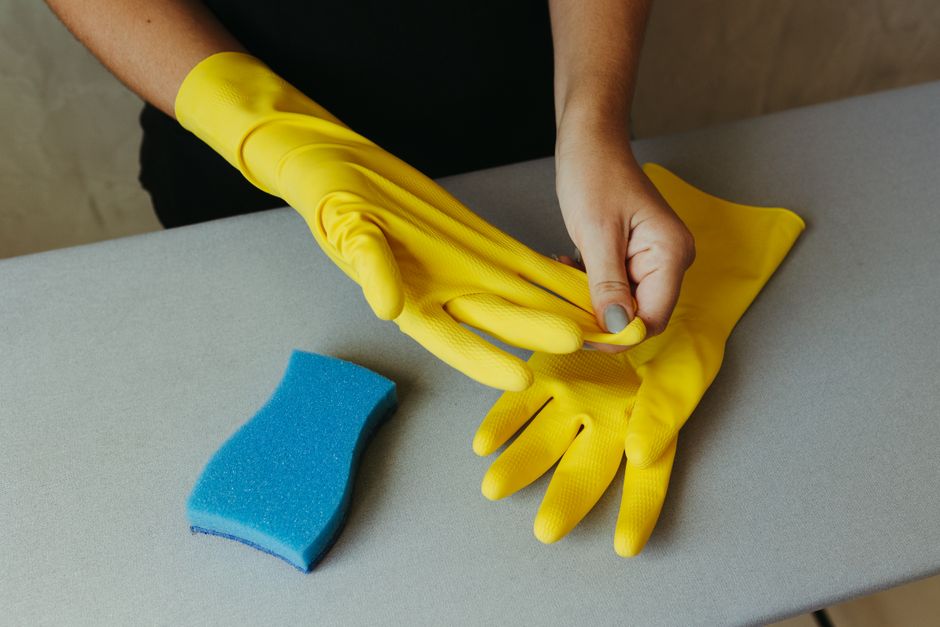
Gather Your Cleaning Supplies Before You Start
You do not need expensive products to clean snorkel gear effectively. In fact, harsh chemicals can do more harm than good. Stick to gentle, gear-safe supplies that remove salt and grime without degrading rubber, silicone, or anti-fog coatings.
- Fresh water: The single most important cleaning agent. Rinse thoroughly and often.
- Mild dish soap: A few drops in a basin of water helps cut through oils and sunscreen residue.
- Soft-bristle brush: A clean toothbrush works well for tight crevices and buckles.
- Microfiber cloths: Lint-free and gentle on lenses.
- Large plastic tub or bucket: For soaking masks, snorkels, and smaller items.
- Wetsuit shampoo or mild baby shampoo: Safe for neoprene and silicone.
- Mesh gear bag: For breathable storage that prevents mildew.
Avoid bleach, ammonia-based cleaners, alcohol, and abrasive scouring pads. These can cloud lenses, crack rubber, and strip protective coatings that keep your mask fog-free.

Step 1: Rinse Immediately After Leaving the Water
The most critical step happens within minutes of exiting the ocean. Salt begins to crystallize as soon as the water evaporates, and those crystals act like tiny abrasives. If you let gear dry in the sun with salt on it, you are essentially sanding delicate surfaces.
As soon as you return to your vehicle, hotel, or dive shop, rinse every piece of gear with fresh water. If you do not have access to a shower or tap, bring a large bottle of fresh water and a spray bottle. A quick field rinse removes the bulk of salt and sand and makes the deeper clean much easier later.
What to Rinse First
- Rinse the mask lens and skirt to prevent salt from drying on the glass or polycarbonate.
- Flush the snorkel tube and mouthpiece, letting water run through both ends.
- Rinse fins, paying attention to foot pockets and strap buckles.
- Rinse wetsuit or rash guard inside and out if you wore one.
Step 2: Deep Clean Your Snorkel Mask
Your mask deserves the most attention because it sits directly on your face and contains the lens you rely on for clear vision. Salt residue on the skirt can cause irritation, and dried salt on the lens can scratch it during wiping.
Cleaning the Lens
Fill a basin with lukewarm fresh water and add one or two drops of mild dish soap. Soak the mask for five to ten minutes. Gently wipe the lens with a microfiber cloth using straight strokes, not circles, to avoid grinding any remaining grit into the surface. If your mask has tempered glass, you can use a soft brush around the frame. For plastic or polycarbonate lenses, use only your fingers and a cloth.
Cleaning the Skirt and Frame
Use a soft toothbrush to scrub the silicone skirt, especially the area where it meets the frame. This is where salt, sand, and body oils accumulate. Rinse thoroughly under running fresh water. Pay attention to the nose pocket and any drainage valves, which can trap salt and debris.
Preserving the Anti-Fog Coating
Many modern masks come with a factory anti-fog coating. Do not scrub it with abrasive cleaners or toothpaste unless the manufacturer specifically recommends it. Instead, clean gently and consider using a dedicated anti-fog solution before each dive. If your mask did not come with a coating, you can apply a thin layer of anti-fog gel or a drop of baby shampoo, rinse lightly, and wear it.
Step 3: Clean Your Snorkel Thoroughly
Snorkels are simple but have hidden areas where salt and mold love to grow: the mouthpiece, the flex section, the purge valve, and the splash guard at the top.
Tube and Mouthpiece
Remove the mouthpiece if it is detachable. Soak all parts in lukewarm soapy water for ten minutes. Use a bottle brush or a rolled-up microfiber cloth to wipe the inside of the tube. Rinse until the water runs clear and no soap remains.
Purge Valve and Splash Guard
These small components trap sand and salt. Rinse them under a strong stream of fresh water and use a toothbrush to dislodge debris from the valve flap. Make sure the valve seals properly after cleaning; a warped or dirty valve causes water to leak into the tube.
Drying the Snorkel
Hang the snorkel vertically with the mouthpiece down so water drains out. Never store it coiled tightly, as this can crease the tube and weaken the flex section over time.
Step 4: Rinse and Care for Fins
Fins take a beating from sand, rocks, and constant flexing. Salt left in the foot pockets can cause blisters on your next dive and degrade the rubber or thermoplastic over time.
- Rinse both sides of each fin with fresh water.
- Use a soft brush to remove sand from the foot pocket and strap adjustments.
- Inspect buckles and straps for salt buildup; soak them in soapy water if they feel stiff.
- Dry fins flat or hanging by the heel strap, away from direct sunlight.
Do not leave fins baking on a hot car dashboard or concrete patio. UV rays and heat warp the blade shape and make the material brittle.
Step 5: Clean Wetsuits and Rash Guards
If you wore a wetsuit, springsuit, or rash guard, saltwater and sunscreen will break down neoprene faster than almost anything else. Rinse the garment inside and out with fresh water immediately after use.
Deep Cleaning Neoprene
Fill a tub with cool water and add a capful of wetsuit shampoo or mild baby shampoo. Turn the suit inside out and gently knead it, focusing on the armpits, crotch, and neck area where body oils collect. Let it soak for fifteen to twenty minutes, then rinse thoroughly until no suds remain.
Drying Without Damage
Hang the suit on a wide plastic hanger, inside out, in a shaded, well-ventilated area. Avoid wire hangers, direct sunlight, and dryers. UV light and heat crack neoprene and fade colors. Once the inside is dry, turn it right side out to finish drying.
Step 6: Dry Everything Properly
Improper drying is the leading cause of mold, mildew, and that unpleasant rubbery smell. After cleaning, shake off excess water and lay or hang each item in a shaded, breezy spot.
| Gear Item | Best Drying Method | What to Avoid |
|---|---|---|
| Mask | Air dry on a towel, lens up | Direct sun, sealed plastic bags |
| Snorkel | Hang vertically, mouthpiece down | Coiling tightly, hot cars |
| Fins | Flat or hanging by heel strap | Leaning on blades, hot surfaces |
| Wetsuit | Wide hanger, inside out, shade | Wire hangers, dryers, sun |
| Booties/Gloves | Upside down on a rack | Stuffed together while wet |
Never pack gear away while it is still damp. Even a small amount of moisture trapped in a gear bag creates a humid microclimate where mold thrives within days.
Step 7: Store Your Gear the Right Way
Correct storage protects your investment between trips. Use a mesh gear bag rather than a sealed plastic bin so air can circulate. Store gear in a cool, dry place away from direct sunlight, extreme heat, and chemicals like gasoline or cleaning solvents.
- Keep masks in a hard case to prevent lens scratches.
- Store snorkels uncoiled and fins flat or hanging.
- Hang wetsuits or fold them loosely; avoid sharp creases.
- Do not stack heavy items on top of masks or fins.
If you store gear for months between seasons, inspect it periodically for mold, cracks, or stiff rubber. A quick rinse and airing every few months keeps everything in top condition.
Common Mistakes That Ruin Snorkel Gear
Even well-meaning snorkelers make mistakes that shorten gear life. Watch out for these:
- Letting gear dry with salt on it: Salt crystals scratch lenses and stiffen silicone.
- Using hot water: Heat warps masks, degrades neoprene, and loosens adhesives.
- Harsh chemicals: Bleach, ammonia, and alcohol damage coatings and rubber.
- Drying in direct sunlight: UV rays crack rubber and fade colors.
- Storing damp gear: The fastest route to mold and mildew.
- Scrubbing lenses aggressively: Micro-scratches cause permanent fogging and blur.
How Often Should You Clean Snorkel Gear?
Clean your gear after every saltwater session, no exceptions. If you snorkel in a pool, rinse after each use to remove chlorine. For gear used frequently, do a deeper clean with mild soap once a week. For occasional vacation use, a thorough clean before storage and a rinse before each trip is enough.
Quick Reference: Post-Dive Cleaning Checklist
- Rinse all gear with fresh water immediately after exiting the ocean.
- Soak mask, snorkel, and small parts in lukewarm soapy water.
- Scrub crevices, valves, and foot pockets with a soft brush.
- Wash wetsuits with wetsuit shampoo and rinse until clear.
- Air dry everything in the shade, away from heat and sun.
- Store in a mesh bag in a cool, dry place.
Final Thoughts
Cleaning snorkel gear after saltwater use takes only fifteen to twenty minutes, but it can add years to the life of your equipment. Freshwater rinsing, gentle soap, soft brushes, and proper drying are all you need. Skip the harsh chemicals and the hot sun, and your mask will stay clear, your snorkel will stay fresh, and your fins and wetsuit will stay flexible season after season. Make the rinse-and-dry routine a habit, and every snorkeling adventure will start with gear that feels and performs like new.
Ask us anything about construction, materials, samples or shipping — we answer personally.