English
 简体中文
简体中文 Русский
 Español
 Deutsch
Why Understanding the Installation Process Matters
Artificial turf has become a mainstream landscaping solution for homeowners, schools, sports facilities, and commercial properties. But the difference between a lawn that looks lush for fifteen years and one that develops wrinkles, drainage problems, or premature wear often comes down to one thing: the quality of the installation. This step-by-step guide walks you through the entire artificial turf installation process, from the first site assessment to the final infill and cleanup, so you know exactly what to expect and what questions to ask your contractor.
Whether you are a DIY enthusiast planning a small patio area or a property manager overseeing a multi-field sports complex, the core principles remain the same. Proper base preparation, accurate cutting, and correct seaming are non-negotiable. Skimping on any stage will cost you far more in repairs than it saves upfront.
Step 1: Site Assessment and Planning
Every successful installation begins with a detailed site survey. Before any material is ordered, the installer should evaluate the following:
- Measurements: Calculate the total square footage, including odd shapes, curves, and borders. Add 5–10% for cutting waste.
- Drainage: Determine the natural slope of the land. Most installations require a 1–2% grade away from buildings to prevent pooling.
- Soil type: Clay, sand, and loam behave differently under compaction. Clay may need extra excavation and a drainage layer.
- Existing utilities: Locate irrigation lines, electrical cables, and gas pipes before digging.
- Sun exposure and traffic: High-traffic areas may need a denser turf or a thicker infill layer.
At this stage, you should also decide on the turf product itself. Face weight, pile height, blade shape, and backing type all influence performance. A reputable supplier will provide samples and technical data sheets.
Step 2: Excavation and Removal of Existing Surface
Once the plan is approved, the crew removes the existing surface. For grass, this means stripping the sod and roots. For concrete or pavers, it may involve breaking and hauling away debris. The goal is to reach a stable subgrade.
Excavation depth is critical. A typical residential installation requires removing 3–4 inches of soil to accommodate the base layers plus the turf itself. For sports fields, the depth can reach 6–12 inches depending on the shock pad and drainage requirements.
Practical tip: Keep the excavated area slightly larger than the final turf dimensions. It is much easier to trim excess base material than to add it back after compaction.
Step 3: Base Preparation and Compaction
The base is the foundation of your artificial lawn. It prevents sinking, improves drainage, and extends the life of the turf. Most installers use a crushed stone base, such as 3/4-inch minus or decomposed granite, applied in two or three lifts.
| Base Layer | Material | Typical Thickness | Purpose |
|---|---|---|---|
| Sub-base | Large crushed stone (3/4"–1") | 2–4 inches | Structural support and drainage |
| Middle layer | Smaller aggregate (3/8"–1/2") | 1–2 inches | Filling voids and smoothing |
| Top layer | Fine decomposed granite or stone dust | 1/2–1 inch | Final leveling surface |
Each layer must be compacted with a plate compactor or vibratory roller. Watering the base lightly between passes helps achieve maximum density. After compaction, the surface should be firm, smooth, and free of dips. Check the slope with a level or laser transit to confirm water flows away from structures.
Step 4: Weed Barrier and Edge Restraint Installation
Even with a solid base, weeds can emerge from below. A high-quality, non-woven geotextile fabric is laid over the compacted base to block weed growth while allowing water to pass through. Overlap seams by at least 6 inches and secure them with landscape staples.
Next, install edge restraints. These can be bender board, concrete curbing, timber, or specialized plastic edging. Edging keeps the turf from shifting, holds the infill in place, and creates a clean border. For curved designs, flexible bender board or pre-formed plastic edging works best.
Step 5: Turf Layout and Acclimation
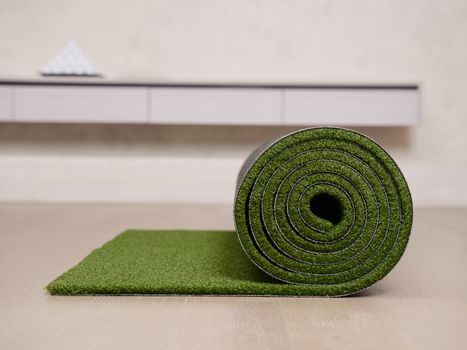
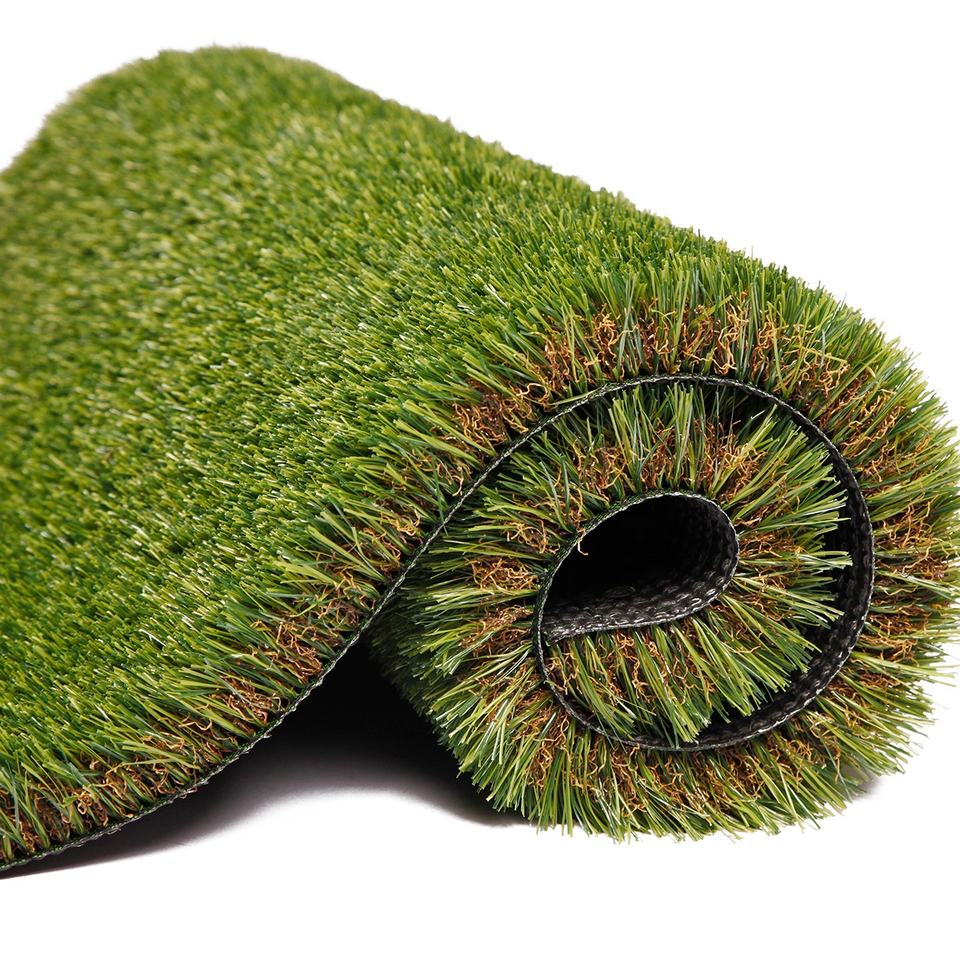
Before cutting, unroll the artificial turf and let it relax on the base for several hours, preferably in direct sunlight. This allows the material to expand and flatten, reducing the risk of wrinkles later. If you are installing multiple rolls, pay attention to the pile direction. All sections should run the same way, or the seams will be visible and the color may appear mismatched.
Practical tip: Mark the pile direction with arrows on the backing before cutting. This simple step prevents costly mistakes when joining pieces.
Step 6: Cutting and Fitting the Turf
Cutting is where precision matters most. Use a sharp utility knife with a new blade, and always cut from the backing side. Leave about 2–3 inches of excess material around the perimeter, which you will trim after the turf is secured. For curves and irregular shapes, make relief cuts every few inches rather than trying to cut one continuous line.
When fitting around trees, planters, or sprinkler heads, cut small openings and work outward. Never stretch the turf to force a fit; it will shrink back and create gaps.
Step 7: Seaming and Securing the Turf
Seams are the most vulnerable part of any installation. To create an invisible joint, follow these steps:
- Fold back both edges of the turf to expose the base.
- Lay a seaming tape or a strip of geotextile along the joint.
- Apply turf seam adhesive evenly across the tape.
- Press both edges into the adhesive, ensuring the pile meshes naturally.
- Place weights along the seam and allow the adhesive to cure for 24 hours.
After seaming, secure the perimeter with 6-inch landscape staples or nails every 6–8 inches. For large areas, add staples in a grid pattern every 2–3 feet to prevent shifting.
Step 8: Infill Application and Brushing
Infill gives artificial turf its stability, improves drainage, and helps blades stand upright. Common infill materials include silica sand, crumb rubber, and coated sand. The amount depends on the turf type and application.
| Application | Infill Type | Typical Amount |
|---|---|---|
| Residential landscaping | Silica sand | 1–2 lbs per sq ft |
| Pet areas | Zeolite or antimicrobial infill | 2–3 lbs per sq ft |
| Sports fields | Crumb rubber or coated sand | 3–5 lbs per sq ft |
Spread the infill with a drop spreader, then work it into the pile using a power broom or a stiff-bristle brush. Brush against the pile direction to lift the blades, then brush with the pile to settle the infill. Repeat until the turf looks even and the blades stand upright.
Step 9: Final Inspection and Cleanup
Once the infill is in place, walk the entire area and check for wrinkles, loose edges, visible seams, and drainage issues. Trim any excess turf along the borders. Remove all debris, tools, and packaging. If the installation includes a pet area, consider applying a pet-safe odor neutralizer.
Finally, provide the homeowner or facility manager with a maintenance guide. Basic care includes rinsing the turf periodically, removing leaves and debris, and brushing high-traffic zones every few months.
Common Mistakes to Avoid
- Skipping compaction between base layers, which leads to uneven settling.
- Cutting the turf too short before seaming, leaving visible gaps.
- Ignoring pile direction, which causes color and texture mismatches.
- Using too little infill, resulting in flattened blades and poor drainage.
- Failing to secure edges properly, allowing the turf to lift in wind or heat.
Conclusion
Artificial turf installation is a multi-stage process that rewards patience and precision. From site assessment and excavation to base compaction, seaming, and infill, each step builds on the last. By following this guide and hiring experienced professionals when needed, you can enjoy a durable, low-maintenance surface that looks great year after year.