
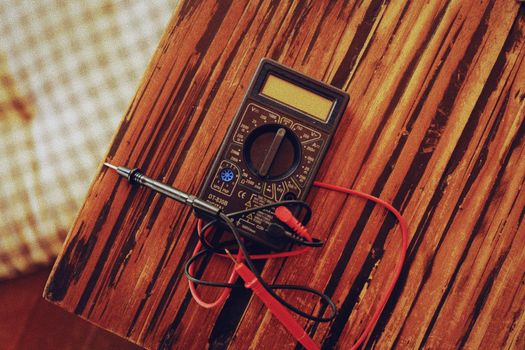

How to Test a Multimeter on Electrical Outlets: A Complete Guide
Testing an electrical outlet with a multimeter is one of the most fundamental skills every homeowner, DIY enthusiast, and apprentice electrician should master. Whether you're troubleshooting a dead outlet, verifying that power is off before a repair, or simply checking whether a receptacle is wired correctly, a multimeter is the tool that gives you a definitive answer. This guide walks you through the entire process — from choosing the right settings to interpreting your readings and staying safe at every step.

Why Test an Outlet with a Multimeter?
Outlets are the primary interface between your home's electrical system and the devices you rely on every day. When something stops working, the outlet is often the first suspect. A multimeter lets you go beyond a simple plug-in tester and measure actual voltage, continuity, and resistance values. That extra detail helps you:
- Confirm power is present — or safely absent before you work on a circuit.
- Diagnose partial failures, such as a loose neutral that causes flickering lights or intermittent device shutdowns.
- Detect wiring errors like reversed hot and neutral, open grounds, or bootleg grounds.
- Measure voltage drop under load, which can reveal undersized wiring or poor connections.
- Verify repairs after replacing a receptacle or breaker.
A basic receptacle tester costs a few dollars, but it only tells you pass/fail. A multimeter gives you numbers, and numbers tell a story.
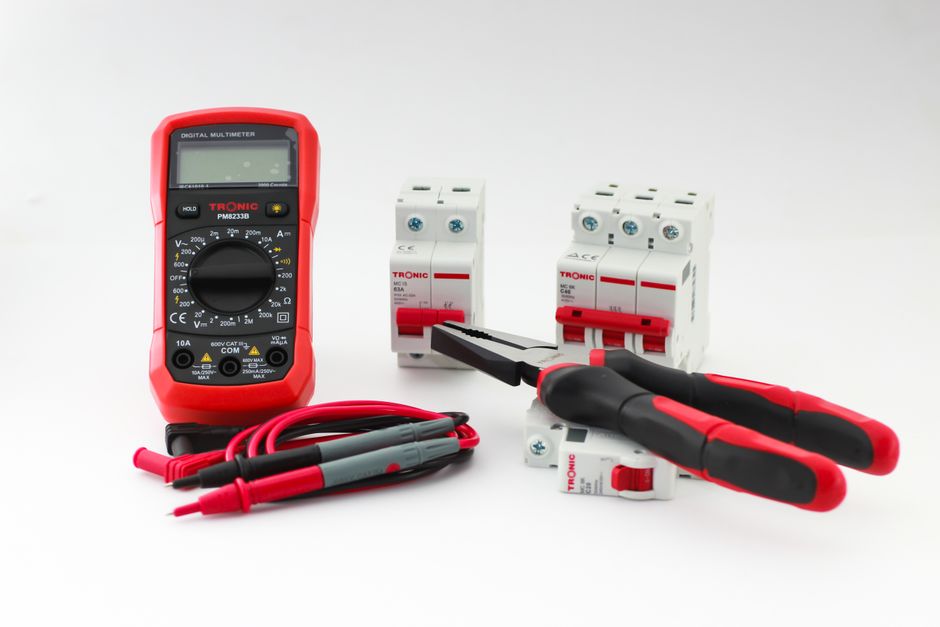
Safety First: Essential Precautions
Electricity deserves respect. Before you touch a multimeter to any outlet, internalize these rules:
- Never touch the metal probes while they're inserted into a live outlet. Hold the insulated handles only.
- Inspect your meter and leads for cracked insulation, exposed wire, or damaged tips. Replace worn leads immediately.
- Use a meter rated for CAT III or CAT IV if you'll be working near the panel. Category ratings indicate the meter's ability to withstand transient voltage spikes.
- Keep one hand behind your back when possible. This reduces the risk of current passing through your chest if something goes wrong.
- Don't work on wet floors or with wet hands.
- If you're unsure, call a licensed electrician. No article replaces professional judgment.
Also, remember that standard North American outlets supply 120 volts, while large appliances use 240-volt circuits. Both can be lethal. Treat every outlet as live until your meter proves otherwise.
Understanding Your Multimeter
Before testing, familiarize yourself with the controls. Most digital multimeters share a common layout:
| Control | Function | Typical Setting for Outlet Testing |
|---|---|---|
| Rotary dial | Selects measurement mode | AC Voltage (V~) |
| V~ / V⎓ | AC or DC voltage | V~ (AC) |
| Range | Manual or auto-ranging | 200V or higher, or auto |
| COM jack | Common (black lead) | Always insert black lead here |
| VΩmA jack | Voltage, resistance, small current | Insert red lead here |
| 10A jack | High current (not used for outlet voltage) | Leave empty |
If your meter has a manual range, choose the next setting above 120V — usually 200V AC or 600V AC. Auto-ranging meters handle this automatically.
Step-by-Step: Testing Voltage at an Outlet
Step 1: Set Up the Meter
Insert the black lead into the COM jack and the red lead into the VΩmA jack. Turn the dial to AC voltage (V~). If manual ranging, select 200V AC or higher.
Step 2: Identify the Slots
A standard North American receptacle has three openings:
- Short slot — hot (black wire), 120V relative to ground.
- Long slot — neutral (white wire), near 0V relative to ground.
- Round hole — ground (bare or green wire).
Step 3: Measure Hot to Neutral
Insert one probe into the short slot and the other into the long slot. You should read between 110 and 125 volts AC. A reading in this range indicates normal line voltage.
Step 4: Measure Hot to Ground
Move the probe from the neutral slot to the round ground hole. You should again read roughly 110–125 volts. This confirms the ground path is intact.
Step 5: Measure Neutral to Ground
Place probes in the long slot and the round hole. The reading should be very close to zero — typically under 2 volts. A significant reading here suggests a wiring problem, such as a loose neutral or shared circuit issue.
Interpreting Your Readings
| Measurement | Expected Reading | What It Means If Off |
|---|---|---|
| Hot to Neutral | 110–125V AC | No power: tripped breaker, open hot, or dead circuit |
| Hot to Ground | 110–125V AC | Open ground or broken ground connection |
| Neutral to Ground | 0–2V AC | Loose neutral, shared circuit, or reversed wiring |
| Hot to Neutral (reversed) | Voltage present but tester shows reverse | Hot and neutral wires swapped at the receptacle |
If hot-to-neutral reads zero but hot-to-ground reads 120V, you likely have an open neutral. If both read zero, the circuit is dead — check the breaker and any upstream GFCI outlets.
Testing for Continuity and Resistance
With the power off at the breaker, you can use your multimeter's continuity or resistance mode to check the wiring itself. This is useful when replacing an outlet or tracing a fault.
- Set the dial to continuity (usually a speaker icon) or resistance (Ω).
- Touch the probes together to confirm a reading near zero — this verifies the meter works.
- With power off, check for continuity between the hot slot and the corresponding screw terminal, and likewise for neutral and ground.
- An infinite reading (OL) where you expect continuity indicates a broken wire or bad connection.
Never perform continuity tests on a live circuit. The meter applies its own small voltage, and a live circuit can damage the meter or injure you.
Testing GFCI Outlets
GFCI outlets protect against ground faults and are required in kitchens, bathrooms, garages, and outdoors. To test one with a multimeter:
- Verify voltage at the outlet using the steps above.
- Press the TEST button on the GFCI. You should hear a click and power should cut off.
- Re-measure hot to neutral — you should read zero volts.
- Press RESET to restore power and confirm voltage returns.
If the GFCI won't trip or reset, replace it. A multimeter confirms whether power is actually being interrupted, which a simple plug tester can't always show.
Common Mistakes to Avoid
- Using the wrong mode. Measuring voltage while the meter is set to resistance can blow a fuse or damage the meter.
- Leaving the red lead in the 10A jack. This creates a near short circuit when you probe a live outlet.
- Trusting a single reading. Always check hot-to-neutral, hot-to-ground, and neutral-to-ground for a complete picture.
- Ignoring fluctuating readings. A voltage that bounces around often signals a loose connection that needs immediate attention.
- Forgetting to reset the breaker. If you turned power off, restore it only after all work is complete and tools are clear.
When to Call a Professional
Some problems are beyond a homeowner's scope. Call a licensed electrician if you find:
- Burning smells, scorch marks, or melted outlets.
- Repeated breaker trips after resetting.
- Voltage readings below 108V or above 130V.
- Evidence of aluminum wiring or knob-and-tube wiring.
- Any uncertainty about what you're seeing.
Electrical work is not the place to guess. A professional can diagnose and repair issues safely and to code.
Final Thoughts
Testing a multimeter on electrical outlets is a skill that pays off in safety, savings, and confidence. With a quality meter, a basic understanding of AC voltage, and a healthy respect for electricity, you can diagnose most common outlet problems in minutes. Start with the voltage checks, interpret your readings carefully, and always put safety first. Once you've done it a few times, it becomes second nature — and you'll wonder how you ever managed without it.