
 English
 简体中文
简体中文 Русский
 Español
 Deutsch
 Vent-Clip & Dashboard Air Purifiers
Solutions
Car Air Purifier Installation: Step-by-Step Guide
Learn car air purifier installation step by step. Choose the right location, connect power safely, mount securely, and maintain clean cabin air. Read the guide!

Why Proper Car Air Purifier Installation Matters
Installing a car air purifier is one of the fastest ways to improve the air you breathe during your daily commute. Cabin air can contain dust, pollen, exhaust fumes, volatile organic compounds (VOCs), and even bacteria, especially in heavy traffic or polluted cities. A quality purifier with a HEPA filter and activated carbon can reduce these pollutants significantly, but only if it is installed correctly. Poor placement or wiring can reduce airflow, create safety hazards, or shorten the device's lifespan.
This step-by-step guide walks you through every stage of car air purifier installation, from choosing a power source to testing performance. Whether you drive a compact sedan, an SUV, or a commercial vehicle, these practical instructions will help you get the best results.
Types of Car Air Purifiers and Their Installation Needs
Before you begin, identify which type of purifier you own. Each has a slightly different installation approach.
| Type | Power Source | Best Mounting Position | Installation Difficulty |
|---|---|---|---|
| 12V plug-in (cigarette lighter) | 12V socket | Cup holder or dashboard | Easy |
| USB-powered | USB port or adapter | Console or dashboard | Easy |
| Hardwired | Vehicle fuse box | Under seat or behind dashboard | Advanced |
| Solar-powered | Built-in solar panel | Dashboard near windshield | Easy |
| OEM integrated | Factory wiring | Built into HVAC system | Professional |
Most aftermarket units are 12V or USB-powered, making them ideal for DIY installation. Hardwired and OEM units require more care and may need a professional auto electrician.

Tools and Materials You Will Need
- Your car air purifier and its manual
- 12V power cable or USB cable (usually included)
- Microfiber cloth and mild cleaner
- Double-sided automotive tape or mounting bracket
- Cable clips or zip ties
- Trim removal tool (for hardwired models)
- Fuse tap and fuse puller (for hardwired models)
- Multimeter (optional, for verifying voltage)
- Gloves and safety glasses
Gather everything before you start. Working with a complete toolkit prevents mid-installation interruptions and reduces the risk of losing small parts.
Step 1: Choose the Right Location
Placement is the single most important factor in purifier performance. The device needs unobstructed airflow on all sides, ideally with at least 2–3 inches of clearance. Good locations include:
- Center console or cup holder: Central position allows air to circulate to both front and rear seats.
- Dashboard (secured): Excellent for solar models, but avoid blocking your view or airbag deployment zones.
- Rear seat headrest or armrest: Useful for larger vehicles where rear passengers need cleaner air.
- Under the front seat: Common for hardwired units; keeps cables hidden and protects the device.
Avoid placing the purifier directly in front of air vents, where HVAC airflow can interfere with intake, or in direct sunlight, which can overheat the unit. Never install it where it could become a projectile in sudden braking.
Step 2: Prepare the Installation Area
Clean the mounting surface with a microfiber cloth and mild cleaner. Dust, oil, and silicone residue weaken adhesive tape and cause mounts to fail. If you are using a bracket, dry-fit it first to confirm alignment. For hardwired installations, disconnect the negative terminal of your car battery before touching any wiring. This prevents short circuits and protects the vehicle's electrical system.
Step 3: Connect the Power Supply
For 12V Plug-in Models
Insert the adapter into the cigarette lighter socket. Turn the ignition to ACC or start the engine, then check that the purifier powers on. If the socket is always live, unplug the device when parked to avoid draining the battery.
For USB Models
Plug the cable into a USB port or a 12V-to-USB adapter with sufficient amperage. Many purifiers require 2A or more; a weak port can cause intermittent operation or slow fan speed.
For Hardwired Models
- Locate a switched fuse in the fuse box that only receives power when the ignition is on.
- Use a fuse tap to create a safe, non-invasive connection.
- Route the positive wire to the fuse tap and the negative wire to a metal ground point.
- Verify polarity with a multimeter before connecting the purifier.
- Reconnect the battery and test the unit.
If you are not comfortable working with vehicle wiring, hire a professional. Incorrect wiring can damage the purifier, blow fuses, or create a fire risk.
Step 4: Mount the Purifier Securely
Use the manufacturer's bracket or high-quality automotive tape. Press firmly for 30 seconds and let the adhesive cure for 24 hours before driving. For heavy units, use screws or straps rated for vibration. Route cables along existing wire harnesses and secure them with clips so they do not interfere with pedals, gear shifters, or seat rails. Loose cables are a common cause of installation failure and can be dangerous.
Step 5: Test and Optimize Performance
After installation, run the purifier on its highest setting for 15–20 minutes with the windows closed. You should feel steady airflow from the outlet. Listen for rattles or vibration, which indicate a loose mount or fan imbalance. If your model has a filter replacement indicator, reset it according to the manual. For best results, run the purifier continuously while driving and use recirculation mode sparingly so fresh air can enter the cabin.
Maintenance Tips After Installation
- Replace HEPA filters every 3–6 months, or sooner in dusty environments.
- Vacuum the pre-filter monthly to maintain airflow.
- Wipe the exterior with a dry cloth; never use water on electrical components.
- Check cable connections every few weeks for wear or loosening.
- Store spare filters in a dry place to prevent mold growth.
Common Installation Mistakes to Avoid
Many users block the intake vents, use undersized USB adapters, or mount the purifier where it obstructs airbags. Others forget to secure cables, leading to tangles around the steering column. Avoid placing the unit on the floor where it can be kicked, and never cover it with clothing or papers. Finally, do not ignore warning lights or unusual noises—address them immediately to prevent damage.
Final Thoughts
Car air purifier installation is a straightforward project that takes 15–45 minutes for most plug-in models. By choosing the right location, securing the power supply, and mounting the unit safely, you can enjoy cleaner, fresher air on every trip. For hardwired systems, professional installation is a smart investment. Once installed, regular maintenance will keep your purifier performing at its best for years.
Suggested models
Browse all Purifiers often specified for this programme
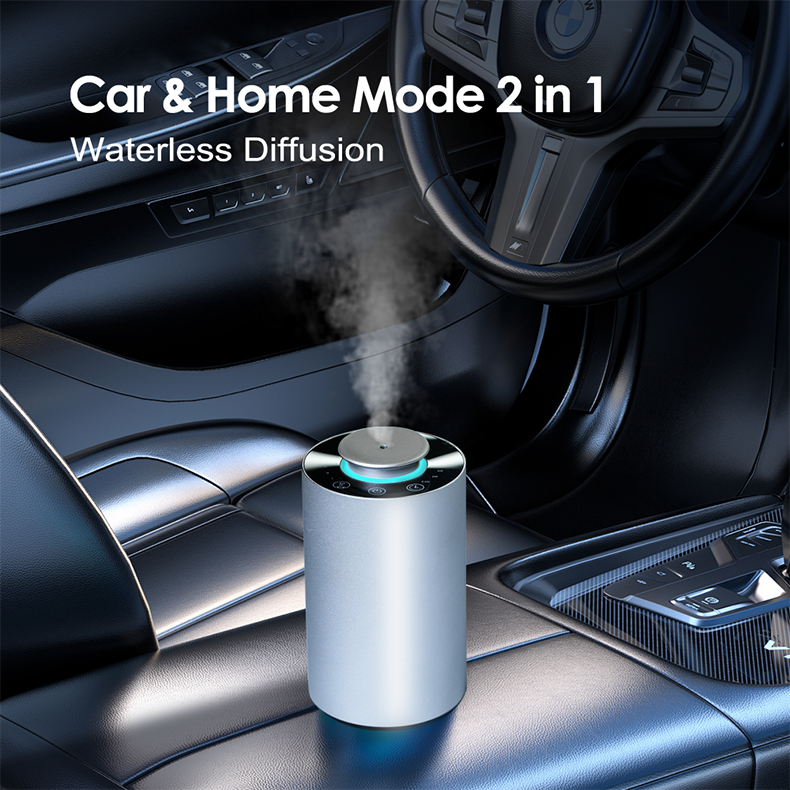
Vent-Clip & Dashboard Air Purifiers
 Vent-Clip & Dashboard Air Purifiers
 Cup-Holder Air Purifiers
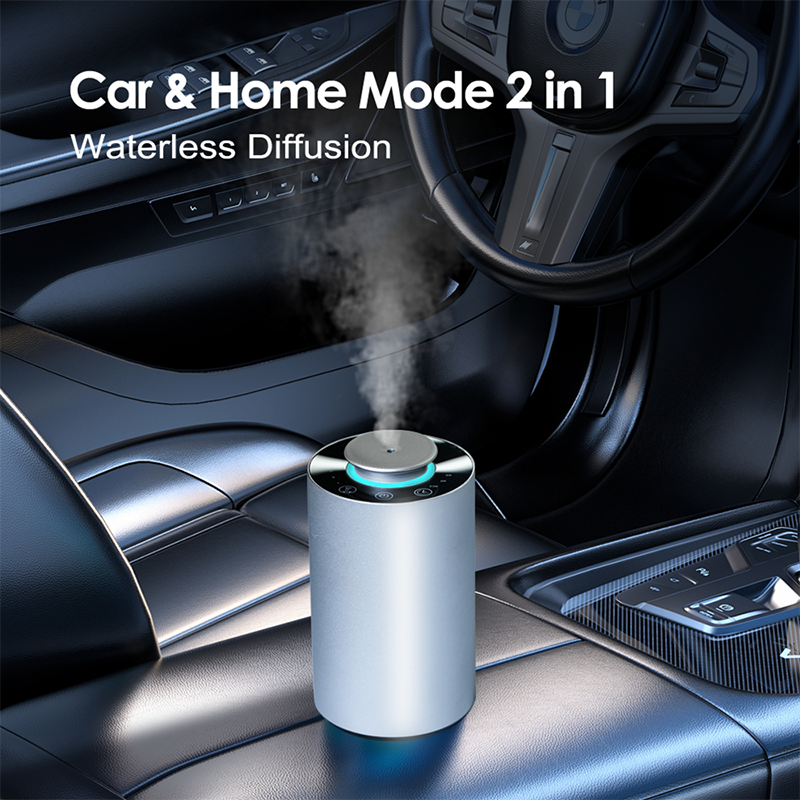
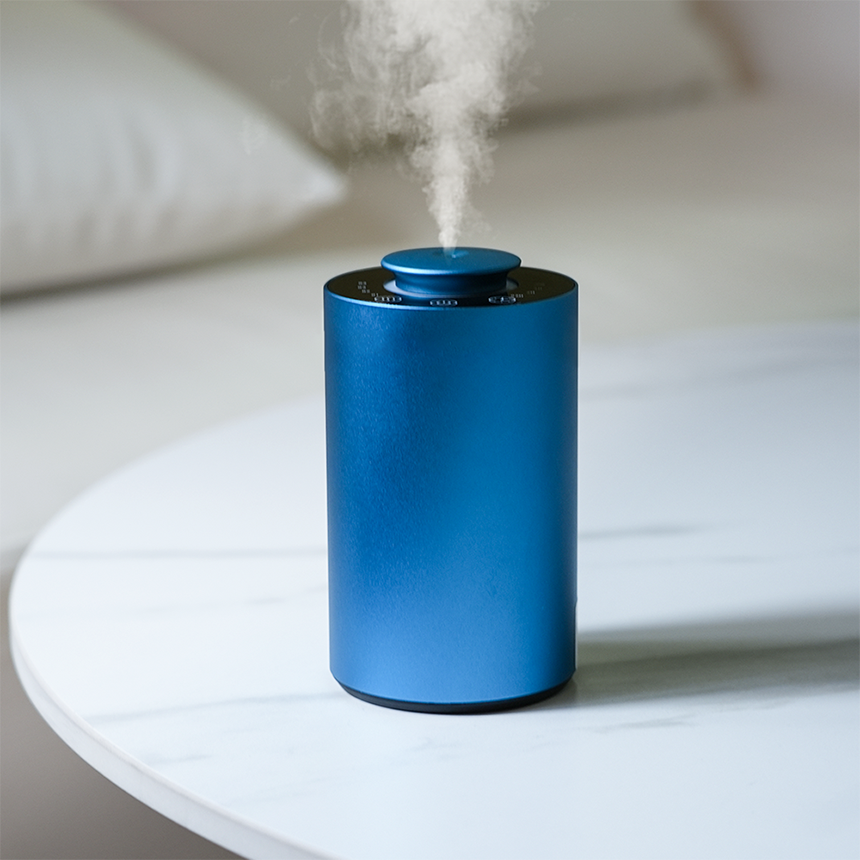 Cup-Holder Air Purifiers
More solutions
Other channels we build for

Car Air Purifiers for Pet Dander: Complete Guide
Discover the best car air purifiers for pet dander. Learn how HEPA filters remove allergens and odors, plus tips to keep your car fresh. Breathe easy—read now!
View solution
Best 12V Car Air Purifiers for Truckers & Long Drives
Discover the best 12V car air purifiers for truckers and long drives. HEPA, carbon, and UV options compared for cleaner cab air. Find your perfect fit today!
View solution
HEPA Car Air Purifier Review: Worth the Hype?
Honest HEPA car air purifier review with test data, pros and cons, comparison table, and buying advice. Find out if it‘s worth the hype for your car.
View solution