
Introduction
Flowmeters are critical instruments in industrial processes, ensuring accurate measurement of liquids, gases, or steam. Proper installation is essential for reliable performance and longevity. This guide provides engineers with a systematic approach to installing flowmeters, covering preparation, mounting, piping, wiring, and calibration.
Pre-Installation Preparation
Review Manufacturer Specifications
Before starting, carefully read the manufacturer's manual. Note the flowmeter type (e.g., electromagnetic, Coriolis, ultrasonic), required straight pipe runs, flow direction, and environmental conditions (temperature, pressure, humidity). Ensure the meter is compatible with the process fluid and operating parameters.
Select the Installation Location
Choose a location that meets the following criteria:
- Accessibility: Easy for maintenance and reading displays.
- Straight Pipe Runs: Typically 10 pipe diameters upstream and 5 downstream for most flowmeters.
- Free from Vibrations: Avoid locations near pumps, valves, or bends that cause turbulence.
- Protection: Shield from extreme weather, direct sunlight, and corrosive atmospheres.
Gather Tools and Materials
Common tools include wrenches, torque wrench, pipe cutter, deburring tool, level, tape measure, and appropriate sealing materials (Teflon tape, gaskets). For electrical flowmeters, have a multimeter, wire strippers, and cable glands ready.
Mounting the Flowmeter
Orientation
Most flowmeters must be installed horizontally or vertically as per the manual. For liquid flow, ensure the pipe is always full (avoid air pockets). For gas flow, avoid liquid accumulation. Check the arrow on the meter body indicating flow direction.
Mechanical Installation
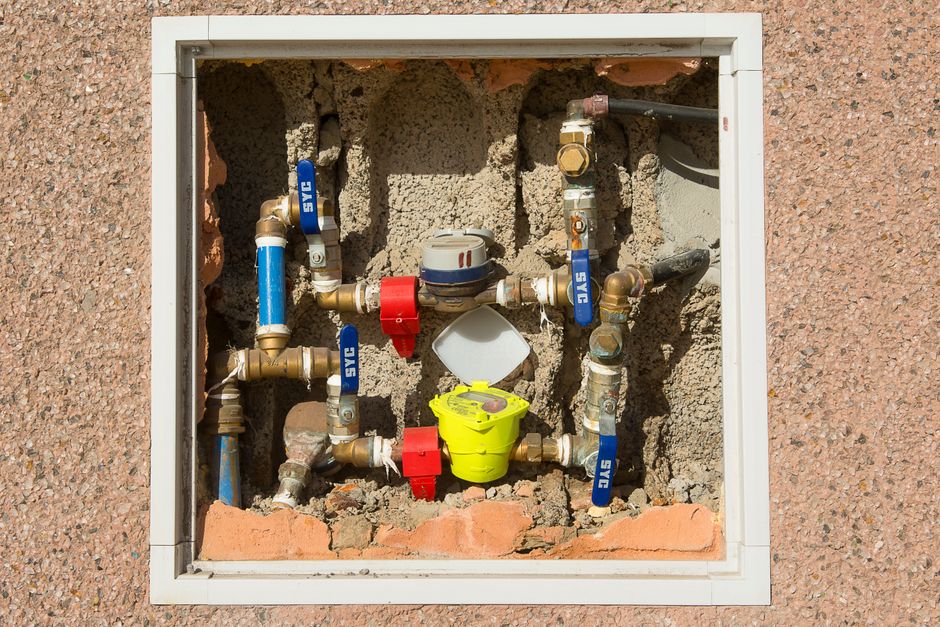
- Cut and Prepare Pipe: Cut the pipe accurately to the required length. Deburr the ends to avoid turbulence.
- Align Flanges or Threads: Use a level to ensure the meter is straight. Misalignment can cause stress and leaks.
- Install Gaskets: Use appropriate gasket material (e.g., PTFE for corrosive fluids). Do not over-tighten.
- Tighten Bolts: Follow a cross-pattern sequence to evenly distribute pressure. Torque to manufacturer specifications.
Supporting the Meter
Heavy flowmeters require additional support. Use brackets or stands to bear weight, preventing pipe strain. For meters with vibration-sensitive electronics, isolate using rubber mounts.
Piping Considerations
Straight Pipe Requirements
Inadequate straight pipe runs cause swirl and velocity profile distortion, leading to measurement errors. For most flowmeters, maintain at least 10D upstream and 5D downstream (D = pipe diameter). Some meters (e.g., Coriolis) are less sensitive but still benefit from straight runs.
Avoiding Common Piping Errors
- Partially closed valves: Install control valves downstream of the meter.
- Elbows and tees: Keep at least 10D away from the meter.
- Reducers and expanders: If necessary, use gradual transitions (cone angle <15°).
- Air traps: In liquid lines, install vents upstream to remove air.
Electrical Wiring
Power Supply
Verify voltage and frequency requirements. Use a dedicated power source to avoid electrical noise. For hazardous areas, ensure intrinsically safe barriers or explosion-proof enclosures.
Cable Connections
- Signal cables: Use shielded twisted-pair cables for analog outputs (4-20 mA). Keep away from high-voltage lines.
- Grounding: Follow the manufacturer's grounding instructions. Typically, ground the shield at one end to avoid ground loops.
- Conduit: Use liquid-tight conduit for outdoor installations. Seal entries to prevent moisture ingress.
Wiring Diagram
Refer to the terminal diagram in the manual. Common connections include:
| Terminal | Function |
|---|---|
| L/N | Power supply (AC) |
| +/- | Analog output (4-20 mA) |
| A/B | Pulse output |
| COM | Common ground |
Calibration and Configuration
Initial Setup
Power on the flowmeter and access the configuration menu. Enter parameters such as pipe diameter, fluid type, density, viscosity, and flow range. For mass flowmeters, set the density of the fluid.
Zero Calibration
For many flowmeters (e.g., Coriolis, electromagnetic), a zero-point calibration is necessary. Isolate the meter and ensure no flow. Initiate the zero calibration routine from the menu. The meter will adjust its zero offset.
Span Calibration
If required, perform a span calibration using a known flow rate. This can be done using a master meter or gravimetric method. Adjust the meter's output to match the reference.
Verification
After calibration, run a test at several flow rates (e.g., 10%, 50%, 100% of full scale). Record the output and compare to the expected values. Adjust if necessary.
Leak Testing and Commissioning
Pressure Test
Slowly pressurize the system to operating pressure. Check all connections for leaks using soapy water or a leak detector. Tighten if needed.
Commissioning Steps
- Open upstream valve slowly to avoid water hammer.
- Open downstream valve gradually.
- Bleed air from high points if liquid system.
- Monitor flowmeter readings for stability.
- Check for unusual vibrations or noise.
Common Installation Mistakes and How to Avoid Them
- Ignoring straight pipe runs: Always measure and ensure adequate length.
- Over-tightening bolts: Use a torque wrench to prevent flange damage.
- Improper grounding: Follow manual to avoid electrical noise.
- Wrong orientation: Install as per fluid type and meter design.
- Skipping zero calibration: Always perform before use.
Conclusion
Proper installation of a flowmeter is crucial for accurate measurement and long service life. By following this step-by-step guide, engineers can avoid common pitfalls and ensure reliable operation. Always refer to the manufacturer's instructions and consult with experts if unsure. For high-quality flowmeters and technical support, contact our team.