 English
 简体中文
简体中文 Русский
 Español
How to Use a Dental Floss Stick Properly: Step-by-Step
Learn how to use a dental floss stick properly with our step-by-step guide. Master the C-shape technique and protect your gums. Start flossing smarter today!
What Is a Dental Floss Stick?
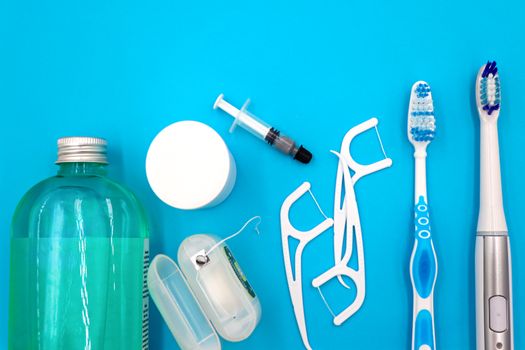
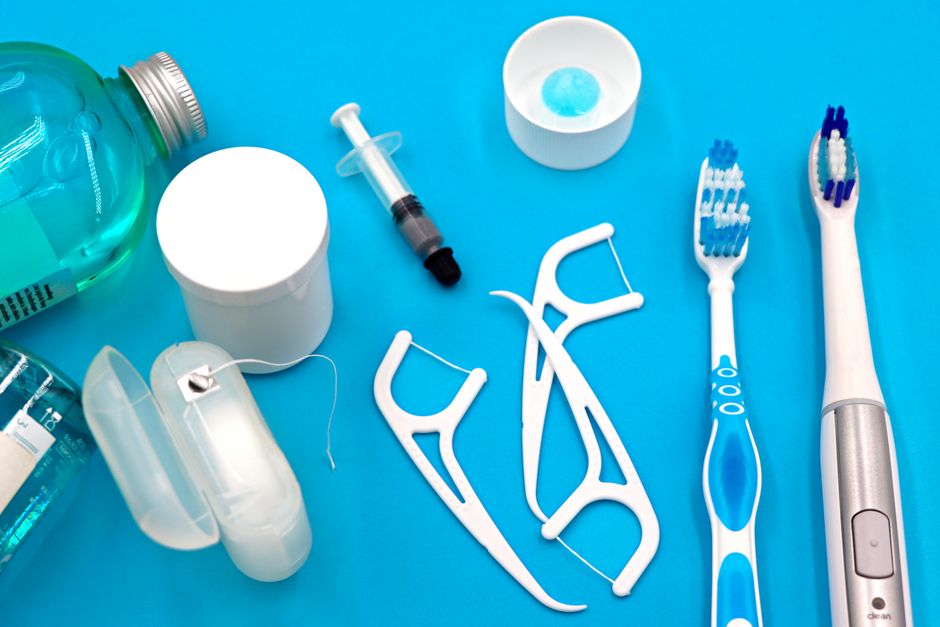
A dental floss stick (also called a floss pick, dental pick, or interdental floss holder) is a small, handheld tool that combines a plastic handle with a short span of dental floss stretched between two prongs. Instead of winding string around your fingers, you simply hold the stick and guide the floss between your teeth. For many people, this makes daily interdental cleaning faster, cleaner, and far easier to stick with.
Dental floss sticks are especially popular among adults with busy routines, people with limited dexterity, parents helping children brush, and anyone who has struggled with traditional string floss. They are widely available in supermarkets, pharmacies, and online, and they come in disposable and refillable designs.
Why Proper Technique Matters
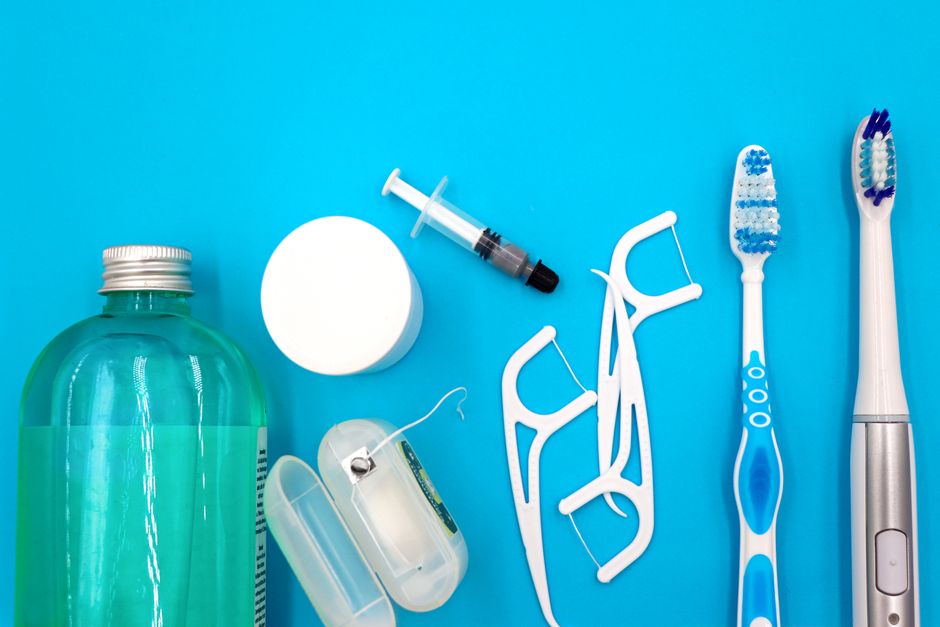
Using a dental floss stick is simple, but doing it properly is what protects your gums and removes plaque. Plaque is a sticky film of bacteria that forms on teeth within hours. If it is not disrupted daily, it hardens into tartar, which can only be removed professionally. Poor flossing technique can also cause gum irritation, bleeding, and even recession over time.
Research consistently shows that cleaning between teeth reduces gingivitis and cavity risk. A floss stick is an effective tool — but only when the floss actually hugs each tooth surface and reaches slightly below the gumline.
Step-by-Step Guide: How to Use a Dental Floss Stick
Step 1: Wash Your Hands and Prepare the Stick
Start with clean hands. Remove a fresh floss stick from its packaging. Inspect the floss span: it should be taut and intact. If the floss is frayed, loose, or already used, discard it. A worn floss strand can snap between tight teeth and may not clean effectively.
Step 2: Position the Stick in Your Dominant Hand
Hold the handle with your thumb and index finger, similar to holding a pen. The floss span should point toward your mouth at a slight angle. This grip gives you the control needed for gentle, precise movements.
Step 3: Guide the Floss Between Two Teeth
Insert the floss gently between two teeth using a soft back-and-forth sawing motion. Never snap the floss down into the gum — that can bruise or cut the tissue. If the gap is tight, ease the floss through slowly rather than forcing it.
Step 4: Curve the Floss Into a C-Shape
Once the floss is between the teeth, curve it around one tooth so it forms a C-shape. This is the most important step. The floss should hug the side of the tooth, not just slide straight up and down in the gap.
Step 5: Slide Gently Below the Gumline
With the floss curved against the tooth, slide it gently downward until you feel slight resistance at the gumline. Then move it up and down a few times, staying gentle. This action lifts plaque from the area just under the gum edge, where gum disease often begins.
Step 6: Repeat on the Other Tooth
Without removing the floss from the gap, curve it against the adjacent tooth and repeat the up-and-down motion. Each space between two teeth has two tooth surfaces, so both need attention.
Step 7: Move to the Next Gap
Lift the floss out and move to the next space. Work systematically around your mouth — for example, start at the upper right back teeth and move forward, then repeat on the lower arch. This prevents you from skipping hard-to-reach areas.
Step 8: Rinse and Dispose
After flossing, rinse your mouth with water or mouthwash. Dispose of the floss stick in a trash bin — never flush it down the toilet, as plastic sticks can clog pipes and harm the environment.
Quick Reference Table
| Step | Action | Common Mistake |
|---|---|---|
| 1 | Wash hands, check floss | Using frayed or reused floss |
| 2 | Hold handle like a pen | Gripping too tightly |
| 3 | Saw gently between teeth | Snapping floss into gums |
| 4 | Curve into a C-shape | Sliding straight up and down |
| 5 | Clean below gumline | Stopping at the gum edge |
| 6 | Repeat on adjacent tooth | Cleaning only one side |
| 7 | Work around the mouth | Skipping back teeth |
| 8 | Rinse and dispose | Flushing the stick |
How Often Should You Use a Dental Floss Stick?
Dentists generally recommend cleaning between your teeth once a day, ideally before brushing at night. Flossing removes plaque and food debris from areas a toothbrush cannot reach. Doing it in the evening ensures your mouth is clean during sleep, when saliva flow drops and bacteria multiply more easily.
If your gums bleed slightly at first, do not panic. Mild bleeding is common when you begin flossing and usually stops within one to two weeks as gums become healthier. Persistent bleeding, pain, or swelling should be checked by a dentist.
Tips for Better Results
- Be consistent: Daily use matters more than perfect technique once a week.
- Use a mirror: Especially when learning, a mirror helps you see back teeth.
- Don't rush: Take 1–2 minutes to clean all gaps thoroughly.
- Replace as needed: Use a fresh stick when the floss becomes frayed or dirty.
- Pair with brushing: Floss sticks do not replace brushing; use both.
- Consider alternatives: If you have braces, bridges, or implants, ask your dentist whether floss sticks, interdental brushes, or water flossers suit you best.
Dental Floss Stick vs. Traditional String Floss
Both methods remove plaque effectively when used correctly. String floss allows you to wrap around each tooth and can be more precise, while floss sticks are easier to handle and more convenient. Many dental professionals suggest that the best flossing tool is the one you will actually use every day. If a floss stick helps you floss consistently, it is a smart choice.
Common Mistakes to Avoid
- Pressing too hard and cutting the gums
- Reusing a dirty or frayed stick
- Flossing only the front teeth
- Skipping the area just below the gumline
- Flossing after brushing without rinsing
Final Thoughts
A dental floss stick is a convenient, effective tool for daily interdental cleaning. By following the eight steps above — inserting gently, curving into a C-shape, cleaning below the gumline, and working systematically around your mouth — you can protect your gums and reduce cavity risk. Make it a daily habit, replace sticks as needed, and keep your regular dental checkups. Your smile will thank you.
Tell us your market and volume — we send product suggestions, samples and pricing.