
Introduction
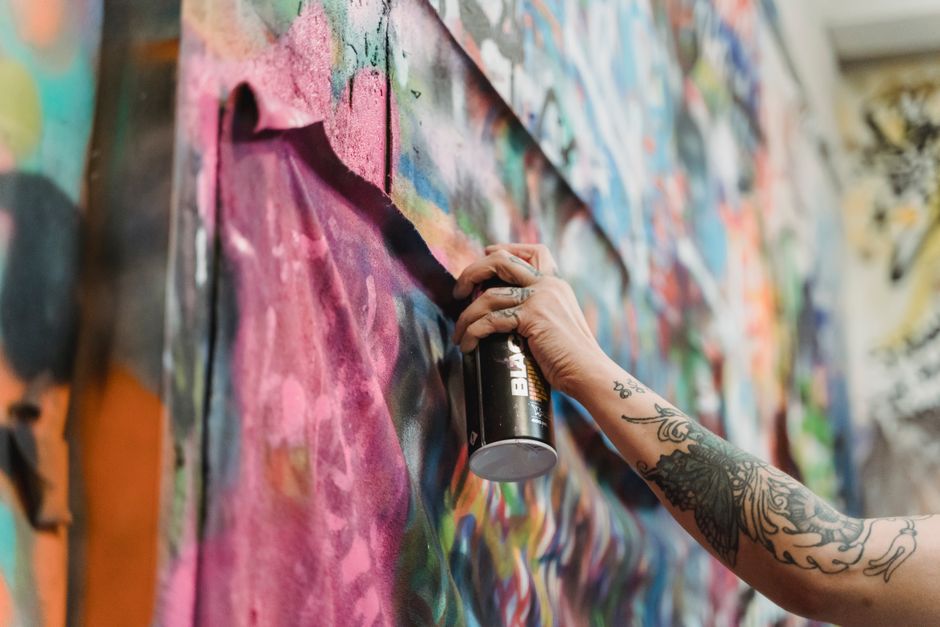
Spray painting canvas is a popular technique for creating vibrant, durable artworks that are perfect for sale. Whether you're an artist looking to expand your product line or a manufacturer producing canvases for the foreign trade market, mastering this method can significantly enhance your offerings. This comprehensive guide will walk you through every step, from selecting materials to finishing touches, ensuring you produce high-quality spray painted canvases that meet international standards.
1. Understanding the Basics of Spray Painting Canvas
What Is Spray Painting Canvas?
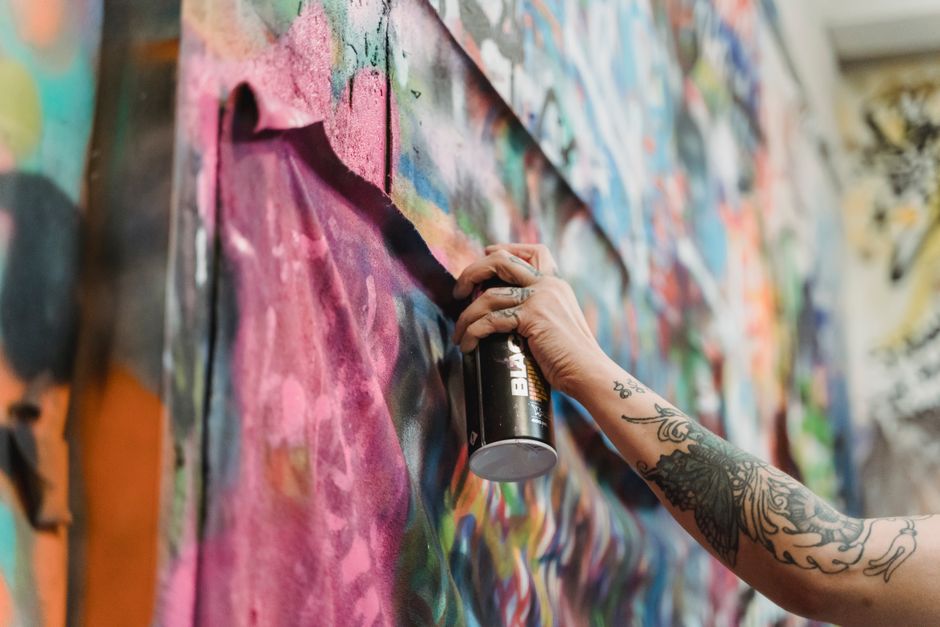
Spray painting canvas involves applying paint via aerosol spray cans or spray guns onto stretched canvas. This technique allows for smooth gradients, bold colors, and quick coverage, making it ideal for contemporary art, abstract designs, and large-scale pieces.
Benefits for B2B Manufacturers
- Efficiency: Faster than brush painting, enabling higher production volumes.
- Consistency: Uniform application reduces variations between pieces.
- Versatility: Works on various canvas textures and sizes.
- Durability: Proper technique ensures long-lasting finishes resistant to fading.
2. Materials and Equipment Needed
| Item | Description | Purpose |
|---|---|---|
| Canvas | Pre-stretched cotton or linen canvas, primed or unprimed | Surface for painting |
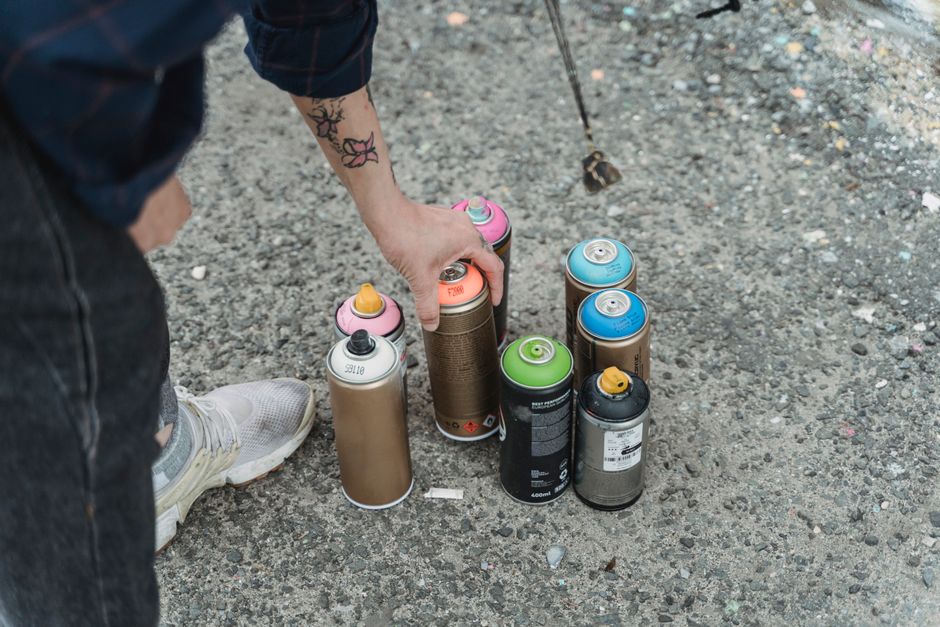
| Spray Paint | High-quality aerosol paints (e.g., Montana, Molotow) or spray gun with acrylic paint | Color application |
| Primer | Gesso or spray primer | Prepares canvas, improves adhesion |
| Protective Gear | Respirator mask, gloves, safety glasses | Safety from fumes and overspray |
| Ventilation | Spray booth or well-ventilated area with exhaust fans | Air quality control |
| Drop Cloths | Plastic or paper sheeting | Protect workspace |
| Stencils & Tape | Low-tack painter's tape, stencil sheets | Create patterns and sharp edges |
| Sealer | Matte or gloss varnish spray | Protect finished artwork |
3. Step-by-Step Process
Step 1: Prepare the Canvas
Start with a clean, dry canvas. If using unprimed canvas, apply a coat of gesso or spray primer to seal the fibers and prevent paint absorption. Allow primer to dry completely (usually 1-2 hours). For pre-primed canvases, lightly sand with fine-grit sandpaper to improve paint adhesion.
Step 2: Set Up Your Workspace
Work in a well-ventilated area with a spray booth or exhaust system. Lay drop cloths on the floor and walls. Hang or place the canvas vertically on an easel or stand. Ensure the canvas is stable and at a comfortable height.
Step 3: Plan Your Design
Sketch your composition lightly with pencil or use stencils. Consider color layering—start with lighter colors and build up to darker shades. For multicolored designs, plan the order of application to avoid muddying.
Step 4: Prime the Surface (If Needed)
If you want a specific base color, spray a thin, even coat of primer or base paint. Hold the can 8-12 inches from the canvas and use sweeping motions. Let dry for 15-30 minutes.
Step 5: Apply the Base Colors
Shake the spray can vigorously for 1-2 minutes. Test on a scrap piece. Apply paint in light, even coats, moving the can in a steady back-and-forth motion. Overlap each pass by 50% to ensure uniform coverage. Allow each coat to dry for 10-15 minutes before applying the next.
Step 6: Add Details and Layers
Use stencils or painter's tape to create sharp lines and patterns. For gradients, spray from a distance (12-18 inches) with light passes. For fine details, use caps that produce narrow spray patterns. Work from background to foreground.
Step 7: Seal the Artwork
After the final layer dries for at least 24 hours, apply a clear sealer. Use a UV-resistant varnish to protect against sunlight. Spray in even coats, holding the can 12 inches away. Apply 2-3 thin coats, allowing 30 minutes between each.
4. Tips for Achieving Professional Results
- Temperature Matters: Spray in temperatures between 60-80°F (15-27°C) with low humidity.
- Thin Coats: Multiple thin coats prevent drips and ensure even drying.
- Clean Nozzles: If a nozzle clogs, remove and soak in paint thinner.
- Practice on Scrap: Test color combinations and techniques on spare canvas.
- Use Quality Paint: Cheap paints may fade or crack over time; invest in professional-grade brands.
5. Common Mistakes and How to Avoid Them
| Mistake | Cause | Solution |
|---|---|---|
| Drips and Runs | Holding can too close or applying too much paint | Maintain 8-12 inch distance; use light coats |
| Uneven Coverage | Inconsistent motion or speed | Use steady, overlapping passes |
| Paint Cracking | Applying thick coats or incompatible layers | Allow proper drying; test compatibility |
| Overspray on Unwanted Areas | Lack of masking | Use tape and drop cloths thoroughly |
| Fading Over Time | No UV protection | Seal with UV-resistant varnish |
6. Packaging and Shipping for Foreign Trade
Once sealed and fully cured (minimum 72 hours), package canvases carefully. Use bubble wrap, corner protectors, and sturdy cardboard boxes. Include a desiccant packet to control moisture. Clearly label as "fragile" and "artwork." For international shipping, consider custom crates for large pieces.
7. Conclusion
Spray painting canvas for sale is a rewarding process that combines artistic expression with manufacturing efficiency. By following this guide, you can produce consistent, high-quality pieces that appeal to global buyers. Remember to prioritize safety, invest in good materials, and continuously refine your technique. Start small, experiment, and soon you'll have a stunning collection ready for export.