Why Sharpening Your Chainsaw Chain Matters
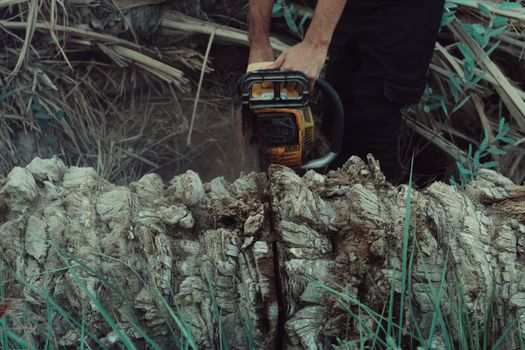
A dull chainsaw chain is more than an inconvenience — it's a safety hazard. When cutters lose their edge, the saw starts throwing fine dust instead of chips, the engine works harder, and kickback risk climbs. Learning how to sharpen a chainsaw chain safely is one of the most valuable skills any homeowner or professional can develop. A properly sharpened chain cuts faster, uses less fuel, reduces vibration, and dramatically lowers the chance of an accident.
In this guide, you'll learn the anatomy of a cutter, the tools you need, a step-by-step sharpening routine, and the safety precautions that keep your hands and eyes intact. Whether you own a gas saw, an electric model, or a battery-powered unit, the fundamentals are identical.
Understanding Chainsaw Chain Anatomy
Before you touch a file, know what you're sharpening. Every cutter on a saw chain has three critical surfaces:
- Top plate — the flat upper surface that slices through wood fibers.
- Side plate — the vertical edge that forms the cutting wall.
- Depth gauge (rakers) — the small hump ahead of each cutter that controls how deep the cutter bites.
Cutters alternate left and right. If you sharpen only one side, the saw will pull to one direction and cut crookedly. Depth gauges must also be maintained; if they're too high, the chain won't cut, and if they're too low, the chain grabs aggressively and increases kickback.
Chain Pitch, Gauge, and File Size
Sharpening tools must match your chain's specifications. Check the numbers stamped on the drive links or the bar:
| Chain Pitch | Common File Size | Typical Saw Class |
|---|---|---|
| 1/4" low profile | 4.0 mm (5/32") | Mini / pole saws |
| 3/8" low profile | 4.8 mm (3/16") | Homeowner saws |
| .325" | 4.8 mm (3/16") | Mid-size saws |
| 3/8" standard | 5.5 mm (7/32") | Professional saws |
| .404" | 5.5 mm (7/32") | Large milling saws |
Using the wrong file diameter rounds off the cutting edge or leaves it blunt. Always confirm the pitch and gauge before buying a file or filing kit.
Essential Tools for Safe Sharpening
You don't need a workshop full of equipment, but you do need the right basics:
- Round file in the correct diameter for your chain.
- File guide or holder to maintain the proper 25–35° top-plate angle.
- Flat file for depth gauges.
- Depth gauge tool to set raker height accurately.
- Stump vise or chain vise to lock the bar steady.
- Calipers or a gauge to measure cutter length.
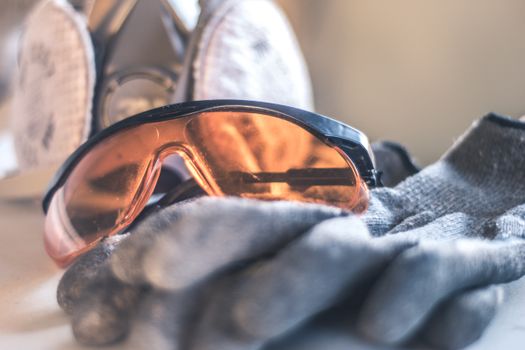
- Safety gear: cut-resistant gloves, eye protection, and a dust mask.
A bench-mounted electric sharpener is faster for high-volume work, but hand filing removes less metal, runs cooler, and is far more forgiving for beginners. Many pros sharpen by hand in the field and only use a grinder to restore a badly damaged chain.
Step-by-Step: How to Sharpen a Chainsaw Chain Safely
Step 1: Prepare the Saw
Switch off the engine or remove the battery. Engage the chain brake, then release it only when you need to rotate the chain by hand. Wear gloves — a sharp chain cuts gloves and skin with equal enthusiasm. Clamp the bar in a vise or use a stump vise so the chain can be pulled smoothly around the bar.
Step 2: Identify the Damaged or Dull Cutters
Inspect each cutter under good light. Look for shiny, rounded edges, flat spots, or chipped chrome. If one cutter is badly damaged — say from hitting a rock or nail — sharpen the whole chain evenly rather than just that tooth, or the chain will cut unevenly.
Step 3: Set the File Angle
Hold the round file so it sits flush in the cutter's gullet, with about 20% of the file diameter above the top plate. The file should meet the top plate at the angle specified for your chain — usually 25° for cross-cutting, 30° for general work, and 10° for ripping chain. Keep the file level with the bar; tilting it changes the side-plate angle.
Step 4: File with Consistent Strokes
Push the file away from you with light, even pressure. File only on the forward stroke; lift slightly on the return to avoid dulling the file. Three to five strokes per cutter is typical for routine touch-ups. Count your strokes and use the same number on every tooth so all cutters stay the same length.
Step 5: Alternate Sides
Sharpen all the cutters on one side first, then flip the saw or rotate the chain to reach the opposite side. Filing from the same side for both left and right cutters reverses the angle and ruins the chain.
Step 6: Maintain the Depth Gauges
Every few sharpenings, check raker height with a depth gauge tool. Place the tool over the raker; if it rocks, the raker is too high and needs filing. Take two or three light strokes with a flat file, then re-check. The correct clearance is usually 0.025" (0.65 mm) for most chains, increasing slightly as the cutter wears.
Step 7: Test the Chain
Reassemble the saw, tension the chain correctly, and make a test cut in softwood. A sharp chain pulls itself into the wood, throws large chips, and produces a smooth cut. Dust, smoke, or a saw that needs pushing means more filing is required.
Safety Rules You Must Never Break
- Disconnect the power source before any maintenance — remove the spark plug boot or battery pack.
- Wear cut-resistant gloves and eye protection. Metal filings and sharp cutters cause serious injuries.
- Never sharpen a chain while the saw is running. This sounds obvious, but fatigue and routine cause mistakes.
- Keep the chain brake engaged when the saw is not being handled.
- Don't over-file. Removing too much metal weakens cutters and shortens chain life.
- Work in a well-ventilated area and avoid sparks near fuel.
How Often Should You Sharpen?
Sharpen whenever you notice any of these signs: the saw produces fine dust instead of chips, you have to force the bar into the wood, the cut wanders, or the engine revs high without cutting. For casual firewood cutting, that might be every one or two tanks of fuel. Professionals often touch up the chain every tank. A quick three-stroke pass per cutter takes minutes and prevents the deep damage that requires a grinder.
Common Sharpening Mistakes to Avoid
- Using the wrong file diameter, which rounds the cutting edge.
- Filing at inconsistent angles, producing a chain that curves in the cut.
- Forgetting depth gauges, leaving a sharp chain that refuses to bite.
- Sharpening only one side of the chain.
- Pressing too hard and overheating the cutter, which softens the chrome.
When to Replace Instead of Sharpen
Every cutter has a wear limit, usually marked by a witness line on the top plate. Once that line disappears, the cutter is too short to sharpen safely — the depth gauge relationship can no longer be maintained and kickback risk rises. Stretched chains that no longer fit the sprocket, cracked cutters, or broken tie straps also mean replacement. A new chain is inexpensive compared with an emergency room visit.
Final Thoughts
Sharpening a chainsaw chain safely is a skill built on patience, the right tools, and consistent technique. Match your file to your chain, keep your angles steady, maintain the depth gauges, and always disconnect the power before you start. Do that, and your saw will cut faster, last longer, and keep you safer every time you pull the starter cord.