
Why an Organized Garage Matters
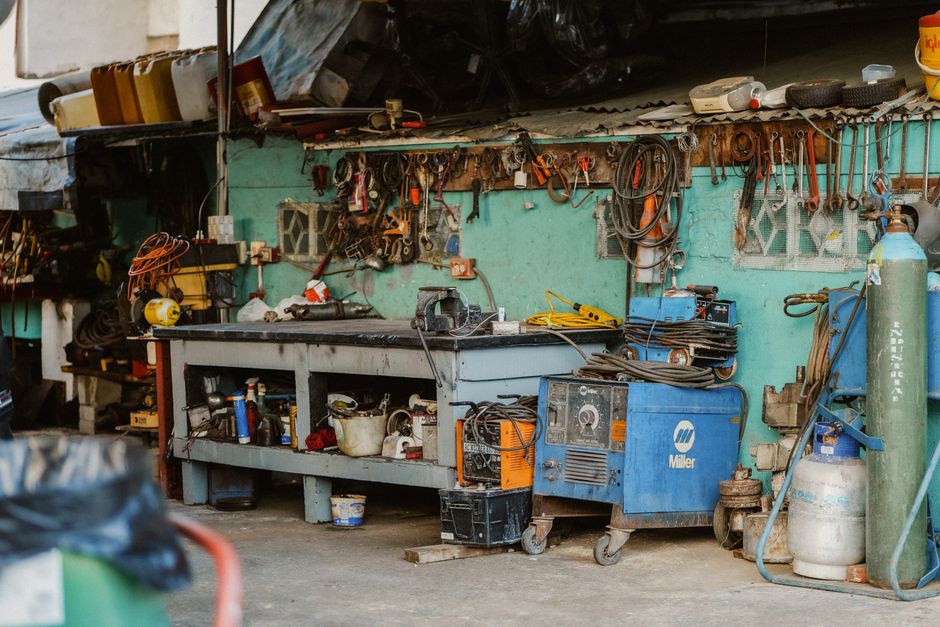
For many homeowners, the garage becomes a catch-all space where tools, sports equipment, seasonal decorations, and forgotten projects pile up. But when your tools are scattered, you waste time searching, risk injuries from tripping or cutting yourself on misplaced items, and may even damage your tools through improper storage. An organized garage not only saves you time and frustration but also protects your investment in quality tools. This guide will walk you through a step-by-step process to transform your garage into an efficient, functional workspace.
Step 1: Declutter and Sort
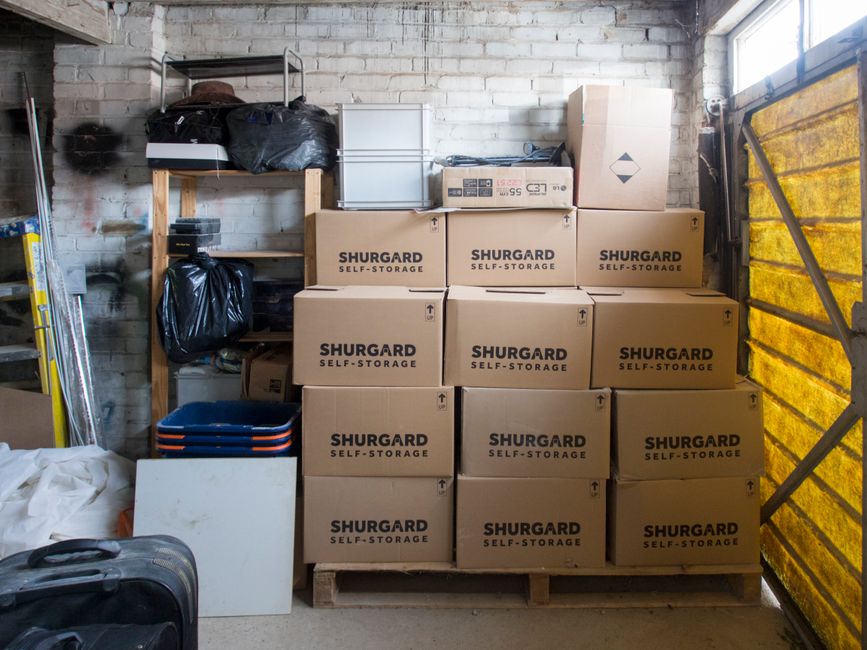
Before you can organize, you need to purge. Set aside a full day to empty your garage as much as possible. Group items into categories: keep, donate, sell, and trash. Be ruthless—if you haven't used a tool in over a year, consider whether it's worth keeping. For tools you rarely use but can't part with, store them in less accessible areas.
Sorting Tips
- Create zones: Designate areas for different activities: woodworking, auto repair, gardening, etc.
- Use the 20/20 rule: If an item can be replaced for under $20 in under 20 minutes, consider letting it go.
- Check for duplicates: You might have three tape measures but no level. Consolidate.
Step 2: Plan Your Layout
A well-planned layout maximizes space and efficiency. Consider the workflow: where do you enter, where do you work, and where do you store? Keep frequently used tools within arm's reach, and store infrequently used items higher up or in corners.
Key Zones to Create
- Workbench area: Central location with easy access to hand tools.
- Power tool station: Near electrical outlets, with shelving or cabinets for larger tools.
- Storage wall: Vertical space for ladders, long-handled tools, and lumber.
- Automotive zone: If you park in the garage, keep tools and chemicals away from vehicles.
Step 3: Invest in Storage Solutions
The right storage can double your usable space. Here are some proven options:
Wall-Mounted Systems
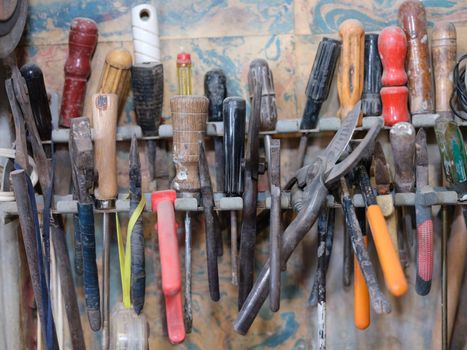
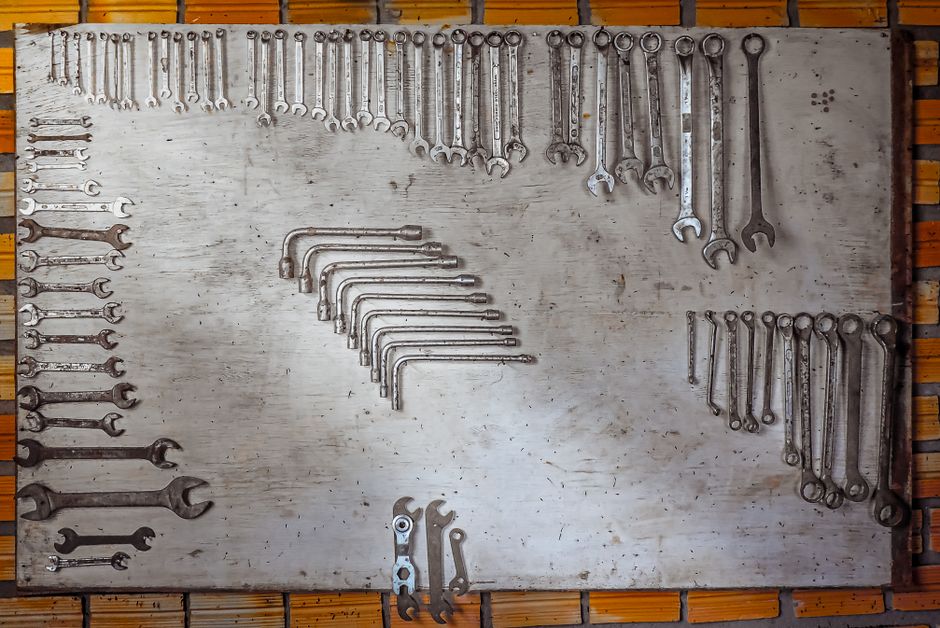
- Pegboards: Ideal for hanging hand tools, wrenches, and small parts. Use hooks and bins to keep items visible and accessible.
- Slatwalls: More robust than pegboards, slatwalls support heavier tools and can be accessorized with shelves, hooks, and baskets.
- Magnetic strips: Great for metallic tools like screwdrivers, pliers, and drill bits. Mount them near your workbench.
Cabinets and Shelving
- Metal cabinets: Durable and lockable, perfect for storing chemicals, paints, and sharp tools.
- Heavy-duty shelving: Use industrial shelving for bulky items like tool cases, air compressors, and parts bins.
- Overhead racks: Utilize ceiling space for long items like pipes, lumber, and ladders.
Mobile Storage
- Tool chests: Roll-around chests keep tools organized and can be moved to the job site.
- Rolling carts: Perfect for keeping frequently used tools and supplies at hand while working.
Step 4: Organize Tools by Category and Frequency of Use
Group similar tools together and store them based on how often you use them. This reduces search time and makes it easier to spot missing items.
Suggested Categories
- Hand tools: Screwdrivers, hammers, wrenches, pliers.
- Power tools: Drills, saws, sanders, grinders.
- Measuring and marking: Tape measures, squares, levels, pencils.
- Fasteners: Screws, nails, bolts, anchors—store in clear bins or jars.
- Automotive: Jacks, stands, oil, filters.
- Gardening: Shovels, rakes, pruners, hose.
Frequency of Use
- Daily/weekly: Keep on workbench or pegboard at waist to eye level.
- Monthly: Store in drawers or cabinets within easy reach.
- Rarely: Place on high shelves or in overhead bins.
Step 5: Label Everything
Labels are the unsung heroes of organization. They help you and anyone else in the household find and return items correctly. Use a label maker or permanent marker on bins, drawers, and shelves. For small parts, label the container, not the individual item.
Labeling Best Practices
- Be specific: "Phillips head screwdrivers" is better than "screwdrivers."
- Use color coding: Assign colors to categories (e.g., red for automotive, blue for woodworking).
- Include quantities: For consumables like screws, note the size and quantity.
Step 6: Maintain Your System
Organization is not a one-time event. Schedule regular maintenance to keep your garage clutter-free.
Maintenance Routine
- Daily: Put tools back after each use.
- Weekly: Spend 10 minutes tidying up and sweeping floors.
- Monthly: Review your inventory, restock supplies, and reassess storage.
- Seasonally: Do a deeper clean and reorganize as needed.
Step 7: Safety and Accessibility
An organized garage is a safe garage. Keep these safety tips in mind:
- Store heavy items low: Prevent back injuries and falling hazards.
- Keep chemicals out of reach: Use locked cabinets if you have children or pets.
- Ensure good lighting: Install bright LED lights or task lighting over work areas.
- Keep pathways clear: Maintain at least 3 feet of clearance around workbenches and vehicles.
- Use fire-resistant storage: For flammable materials, use approved safety cabinets.
Step 8: Smart Tips for Small Garages
If your garage is tight on space, try these space-saving ideas:
- Use vertical space: Install shelves up to the ceiling.
- Hang bikes and ladders: Use ceiling hoists or wall mounts.
- Fold-down workbench: A workbench that folds against the wall when not in use.
- Corner solutions: Use corner shelves or lazy Susans for small items.
- Under-shelf bins: Attach bins under shelves to hold small parts.
Conclusion
Organizing your garage tools efficiently requires planning, the right storage solutions, and consistent maintenance. By following these steps, you'll create a workspace that boosts productivity, reduces stress, and protects your tools. Start today—your future self will thank you.