1. Tape Measure
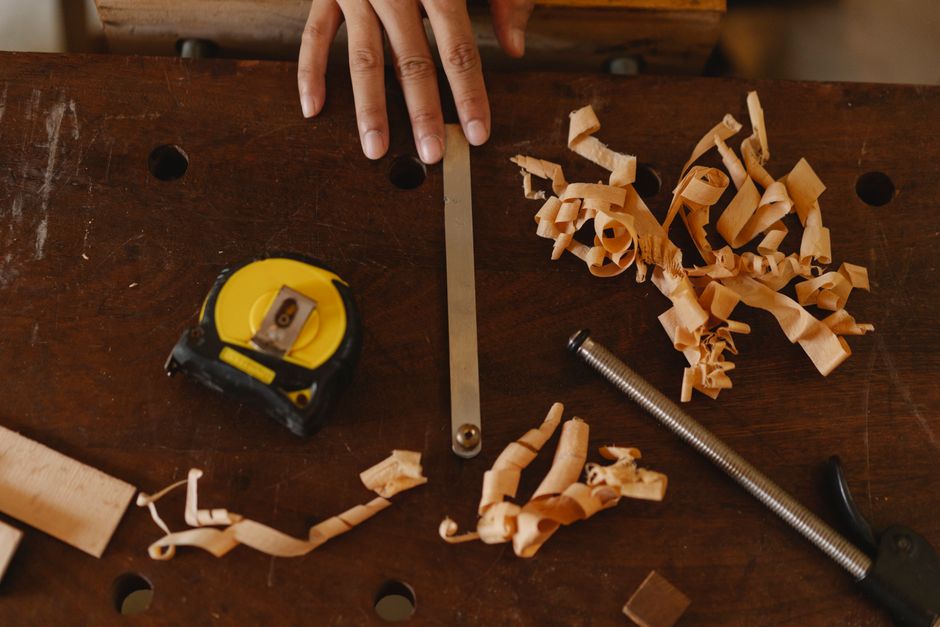
A tape measure is the very first tool any woodworker should own, and it is arguably the one you will reach for more than any other. Woodworking is fundamentally about accurate dimensions, and even a small measuring error can ruin a joint, throw off a cabinet door, or waste an expensive board. A 16-foot or 25-foot tape measure with a locking mechanism and a clear, easy-to-read scale will handle almost every project in a home shop.
Look for a tape with a blade that stands out rigidly for at least six to eight feet, since this lets you measure across a sheet of plywood without a helper. The sliding hook at the end should have a small amount of play — that movement is intentional and compensates for the thickness of the hook itself when measuring inside or outside a surface. Many beginners assume a wobbly hook means a defective tool, but it is actually a sign of a well-designed tape.
It also helps to keep a folding rule or a small 6-inch steel ruler nearby for precise marking. Tape measures are great for rough dimensions, but when you are laying out a mortise or marking a dovetail, a rigid ruler gives you far more control. Together, these two measuring tools form the foundation of accurate work.
2. Combination Square
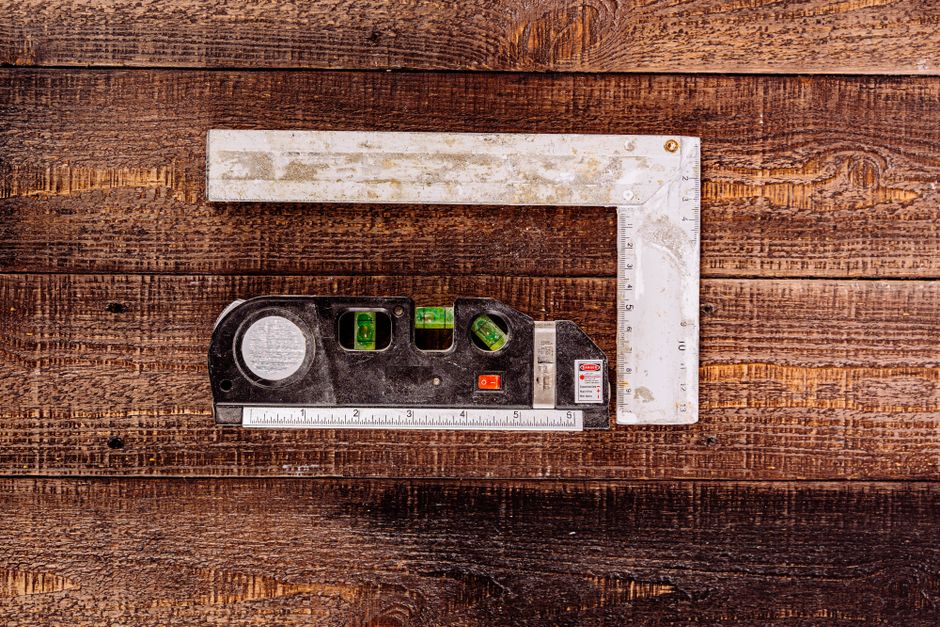
A combination square is the tool that separates woodworkers who build square, accurate projects from those who constantly fight crooked cuts. It consists of a steel ruler and a sliding head that can be locked at 90 degrees or 45 degrees, allowing you to mark square lines, check corners, and set up machines. If you only buy one layout tool beyond a tape measure, make it a quality combination square.
Cheap combination squares are notoriously inaccurate, so this is one place where spending a little more pays off immediately. A good square should slide smoothly without wobbling, and the head should lock firmly without slipping. To test one in the store, place it against a known straight edge, draw a line, flip the square over, and draw a second line. If the two lines coincide perfectly, the square is true.
Beyond marking, a combination square is invaluable for setting the height of a table saw blade, checking that a drill press table is perpendicular to the bit, and transferring measurements from a drawing to a board. It is a simple tool, but its versatility makes it a permanent resident of every woodworker's apron or bench.
3. Hand Saw
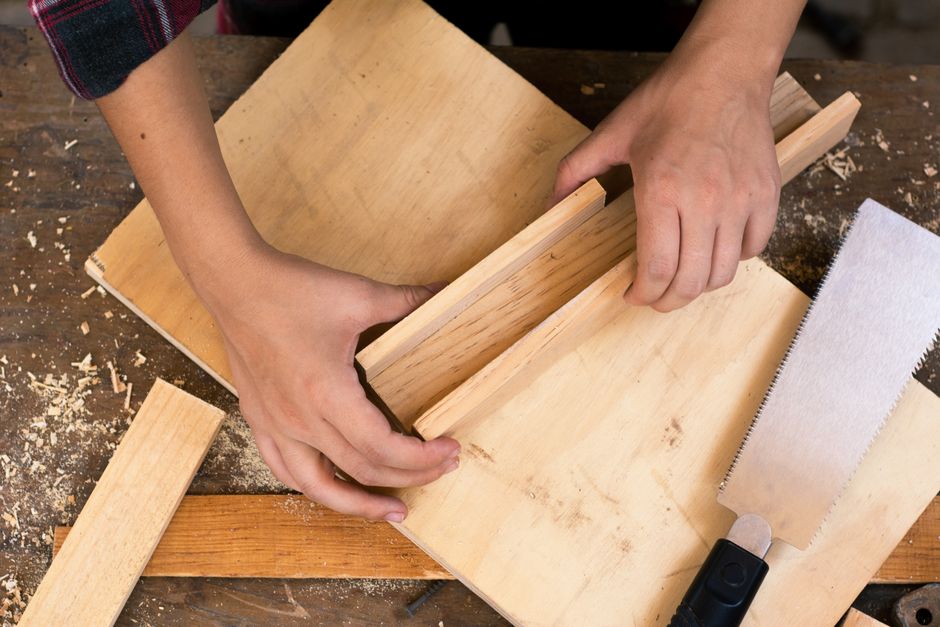
Even in a shop full of power tools, a good hand saw earns its place. A crosscut saw for cutting across the grain and a rip saw for cutting along the grain are the traditional pair, though many beginners start with a single fine-toothed saw that handles both reasonably well. Hand sawing teaches you to read grain direction and to control a cut, skills that transfer directly to safer and more accurate power tool use.
When choosing a hand saw, pay attention to the tooth count. A saw with more teeth per inch produces a smoother cut but works more slowly, while a saw with fewer teeth cuts fast but leaves a rougher edge. For general furniture work, a saw in the 10 to 12 teeth-per-inch range is a good compromise. A comfortable handle and a blade that stays straight under pressure matter more than brand names.
Practice is essential. Clamp your board securely, start the cut with a few light strokes to establish a kerf, and let the saw do the work rather than forcing it. Beginners who master a hand saw often find they reach for it instead of a circular saw for small, precise cuts because it is faster to set up and far less noisy.
4. Chisels
A set of bench chisels is the woodworker's equivalent of a sculptor's fingers. Chisels clean up joints, pare away waste, chop mortises, and fine-tune edges that machines cannot reach. A basic set of four — typically 1/4 inch, 1/2 inch, 3/4 inch, and 1 inch — covers the vast majority of beginner projects without breaking the bank.
The single most important thing to understand about chisels is that they must be sharp to work safely and accurately. A dull chisel requires more force, which makes it far more likely to slip and cut you or gouge your workpiece. Budget for a sharpening stone or a simple honing guide from the start, and plan to sharpen frequently. Many beginners are surprised to learn that sharpening is a core woodworking skill, not an occasional chore.
Store chisels with their edges protected, either in a roll or with blade guards, and never place them edge-down on a bench. Treat them with respect and they will last a lifetime — many woodworkers pass their chisels down to the next generation.
5. Hand Plane
A hand plane is the tool that turns a rough, milled board into a smooth, flat, ready-to-finish surface. While sanders can smooth wood, they cannot flatten it or remove the subtle twist and cup that lumber often develops. A sharp plane does both, and it leaves a surface that is actually better than sandpaper can produce.
For beginners, a No. 4 smoothing plane or a No. 5 jack plane is the best starting point. The jack plane is longer and more versatile, making it suitable for flattening and jointing as well as smoothing, while the shorter smoothing plane excels at final surface preparation. Either one, properly tuned and sharpened, will transform how you work with wood.
Learning to set up a plane takes patience. The blade must be sharp, the chip breaker must seat tightly, and the sole should be reasonably flat. Once you get it right, the sound and feel of a well-tuned plane peeling a continuous shaving is one of the great pleasures of woodworking.
6. Cordless Drill and Driver
A cordless drill-driver is the power tool most beginners buy first, and for good reason. It drills holes, drives screws, and, with the right accessories, becomes a sander, a buffer, and even a small mixer. A modern 18-volt or 20-volt drill with two batteries and a fast charger has enough power for almost any home workshop task.
Look for a drill with an adjustable clutch, which prevents you from over-driving screws and stripping their heads. Two speed ranges are also useful: low speed for driving screws and high speed for drilling small holes. A keyless chuck makes bit changes quick, and a built-in LED light helps when you are working in a shadowy corner.
Buy a quality set of drill bits and driver bits alongside the drill. Dull or cheap bits are the most common cause of frustration for beginners, and a modest investment in good bits will make your drill feel far more capable. Keep a spare battery charged at all times so you are never stuck mid-project.
7. Random Orbit Sander
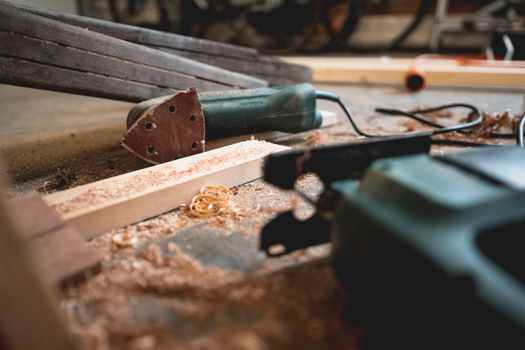
Sanding is nobody's favorite part of woodworking, but it is unavoidable, and a random orbit sander makes it far less tedious. Unlike a belt sander, which can quickly gouge a surface, a random orbit sander moves the abrasive in an eccentric path that reduces swirl marks and is much more forgiving in inexperienced hands.
A 5-inch random orbit sander with variable speed is a good all-around choice. Use coarse grits (80 or 100) to remove material and smooth rough surfaces, then work through progressively finer grits (120, 150, 180, and up to 220) before applying finish. Skipping grits is a common beginner mistake that leaves scratches visible under stain.
Always connect the sander to a dust collector or vacuum if possible. Wood dust is a health hazard, and a dust-free sanding setup keeps both your lungs and your shop cleaner. Let the sander's weight do the work, keep it moving, and resist the urge to press down hard.
8. Clamps
Woodworkers often joke that you can never have too many clamps, and it is only half a joke. Glue-ups, jigs, and assemblies all depend on clamping pressure, and running out of clamps halfway through a glue-up is a recipe for a failed joint. A beginner should start with at least four bar clamps and a handful of spring clamps, then add more as projects demand.
Bar clamps are the workhorses of the shop. Look for clamps with a sturdy bar that will not flex under pressure and jaws that stay parallel. Pipe clamps are an affordable alternative for long glue-ups, while F-style clamps handle smaller assemblies. Spring clamps are handy for holding jigs and light work.
When clamping, use just enough pressure to bring the joint together and hold it — over-tightening can starve the joint of glue or crush soft woods. Place clamps opposite each other to distribute pressure evenly, and check for square before the glue sets. A little planning before the glue bottle comes out saves a lot of frustration.
9. Safety Gear
No list of essential tools is complete without safety gear, and it belongs near the top rather than at the bottom. Safety glasses should be worn any time you cut, drill, sand, or chisel. Hearing protection is essential around routers, table saws, and planers, which can exceed 100 decibels. A dust mask or respirator protects your lungs from fine wood dust, which is a known health hazard.
Beyond personal protection, think about shop safety systems. Push sticks and push blocks keep your hands away from blades. Featherboards hold work against a fence. A properly grounded outlet and a fire extinguisher are basics that every shop should have. Good lighting and a clean floor prevent the slips and misjudgments that cause most accidents.
Safety gear is not a substitute for attention. The most important safety tool is a clear, unhurried mind. Never operate a machine when you are tired, distracted, or in a rush, and always unplug tools before changing blades or bits.
10. Workbench and Vise
Every tool on this list needs a place to work, and that place is a sturdy workbench. A good bench holds your workpiece at a comfortable height, resists racking and movement, and gives you a place to clamp, plane, saw, and assemble. You do not need a fancy bench to start — a solid, heavy table with a vise attached will serve a beginner well.
A bench vise is the feature that turns a table into a real workbench. It holds boards for planing and sawing, grips parts for chiseling, and serves as a third hand during assembly. A front vise is the most common choice, while an end vise is useful for holding long boards. Even a modest vise dramatically expands what you can do.
If you build your own bench, use heavy materials and add cross-bracing to prevent movement. A bench that shifts while you plane is frustrating and unsafe. As your skills grow, you can add bench dogs, holdfasts, and other accessories, but a simple, solid bench is the foundation of everything else in the shop.