
 English
 简体中文
 Русский
 Español
 Deutsch
Why Accurate Measurements Matter for Fabric Curtains
Fabric curtains are one of the most transformative elements in any room. They control light, insulate windows, add privacy, and tie a design scheme together. But even the most beautiful fabric will look wrong if the measurements are off. Curtains that are too short look unfinished, panels that are too narrow cannot close properly, and hardware mounted at the wrong height can make a ceiling feel low or a window feel awkward.
Unlike ready-made blinds, fabric curtains are usually made to order or at least chosen in specific sizes, so precision is everything. A few centimeters of error can mean the difference between a polished, custom look and a costly reorder. This guide walks you through every step of measuring windows for fabric curtains, from choosing your mounting style to calculating fullness and final panel dimensions.
Gather the Right Tools Before You Start
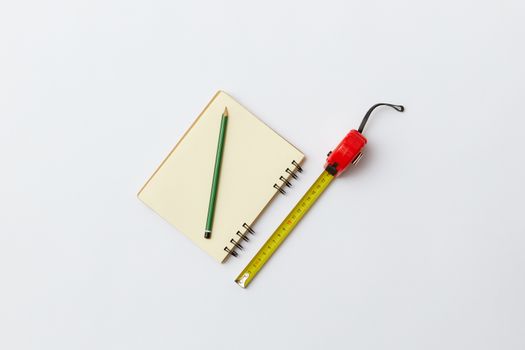
Measuring is only as accurate as the tools you use. Before you climb a ladder, collect the following:
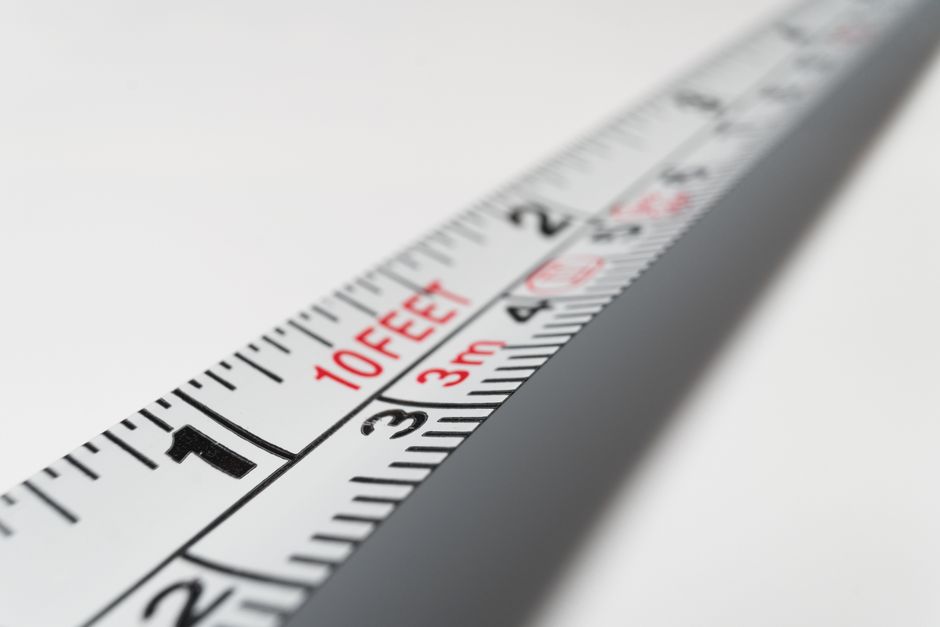
- A metal tape measure (fabric tapes stretch and give false readings)
- A pencil and paper or a notes app for recording numbers
- A step stool or ladder
- A level, if you plan to install a rod or track
- A helper for wide windows or floor-length measurements
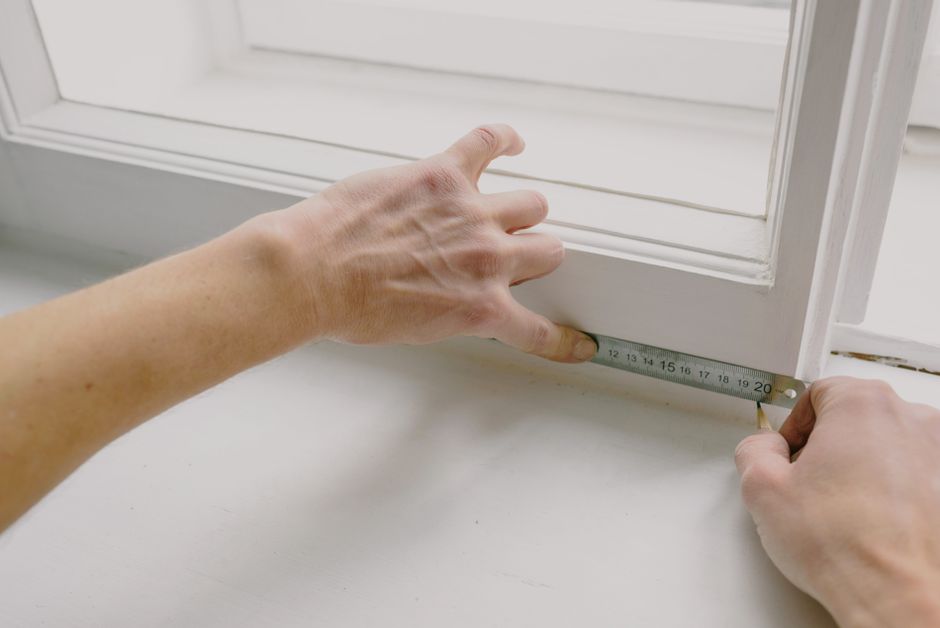
Always measure in the same unit throughout, and write down every number to the nearest millimeter or eighth of an inch. Do not round up or down until you calculate the final panel sizes.
Step 1: Decide on Your Mounting Style
Before you measure, decide whether your curtains will be mounted inside the window recess or outside on the wall or ceiling. This choice changes every measurement that follows.
Inside Mount
Inside mount curtains sit within the window frame or recess. This style is neat and works well in small rooms or with window seats. It requires a recess deep enough to hold the track or rod, usually at least 5–8 cm. Inside mount curtains cover only the glass area, so they offer less light blocking and can look cramped if the recess is shallow.
Outside Mount
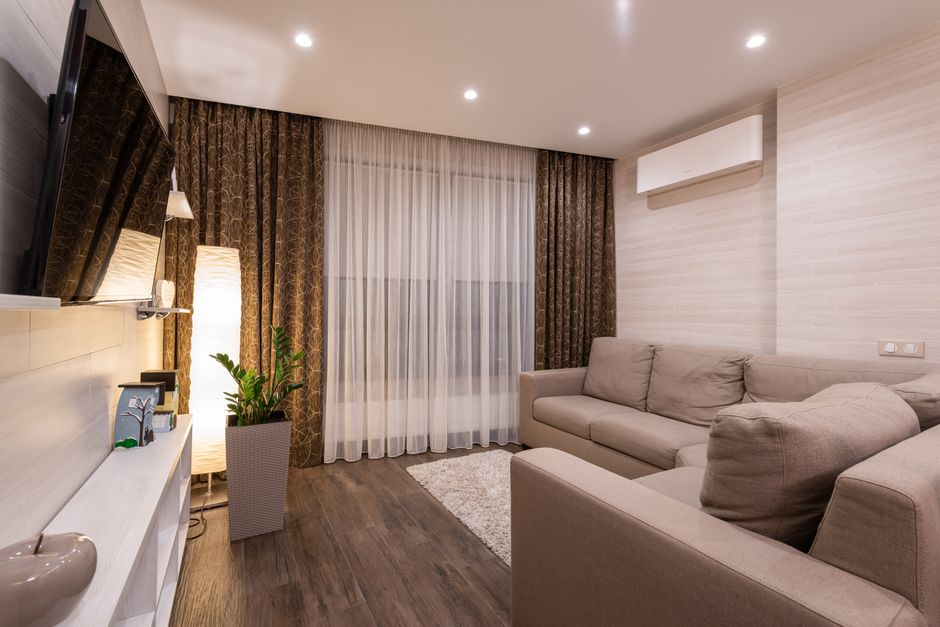
Outside mount curtains hang on the wall, ceiling, or window frame above and beyond the recess. This is the most popular choice because it makes windows look larger, blocks more light, and allows for fuller, more dramatic fabric. Outside mount also hides imperfections around the window frame. For most fabric curtains, outside mount is the recommended approach.
Step 2: Measure the Width Correctly
Width is where most measuring mistakes happen, because the rod or track width is not the same as the fabric width. You need to measure the space you want the curtains to cover, then add allowances for stacking and fullness.
For Outside Mount
Measure the full width of the window frame, including any trim. Then add an overlap allowance on each side, typically 5–10 cm per side, so the curtains extend beyond the window opening. This prevents light from leaking around the edges and gives the window a more generous appearance.
For Inside Mount
Measure the inside width of the recess at three points: top, middle, and bottom. Use the smallest measurement to ensure the track fits. If the recess is not perfectly square, the smallest number is your safe working width.
Why Fullness Matters
Fabric curtains should never be flat like a sheet. Fullness, also called gather or pleat ratio, determines how much fabric is needed to create soft folds. The table below shows common fullness ratios for different fabric weights and heading styles.
| Heading Style | Recommended Fullness | Best For |
|---|---|---|
| Pencil pleat | 2x to 2.5x | Medium to heavy fabrics |
| Eyelet / grommet | 1.5x to 2x | Casual, modern rooms |
| Pinch pleat | 2x to 2.5x | Formal, tailored looks |
| Wave / ripplefold | 2x to 2.5x | Contemporary tracks |
| Tab top | 1.5x to 2x | Lightweight fabrics |
To calculate the total fabric width, multiply your measured coverage width by the fullness ratio. For example, a 150 cm window with a 2x fullness ratio needs 300 cm of fabric width, split across two panels of 150 cm each.
Step 3: Measure the Drop (Length)
The drop is the vertical measurement from the top of the curtain to the bottom. Where you measure from and to depends on your hardware and the look you want.
Measuring for Outside Mount
Start from the point where the top of the curtain will sit. If the rod or track is mounted above the window, measure from the top of the rod to your desired finished length. A common design rule is to mount the hardware 10–15 cm above the window frame and extend it 10–15 cm beyond each side.
Measuring for Inside Mount
Measure from the top inside edge of the recess to the sill or to the floor, depending on your chosen length. For inside mount, curtains usually finish at or just below the sill.
Choosing Your Finished Length
- Sill length: Ends 1–2 cm above the windowsill. Practical for kitchens and bathrooms.
- Below sill: Ends 10–15 cm below the sill. A classic, versatile choice.
- Floor length: Ends 1–2 cm above the floor. Elegant and easy to clean around.
- Breaking / puddling: Extends 2–10 cm onto the floor. Dramatic but collects dust.
Measure the drop at three points: left, center, and right. Floors and ceilings are rarely perfectly level. Use the shortest measurement for floor-length curtains so they do not drag, or the longest if you want a consistent puddle.
Step 4: Account for Hardware and Heading Allowances
The rod or track itself takes up space. For eyelet curtains, the top of the fabric sits above the rod, so add the eyelet height to your drop measurement. For pencil pleat and pinch pleat, the heading tape adds 2–5 cm above the rod. For tracks with gliders, the curtain typically hangs below the track, so measure from the bottom of the track.
If you are unsure, measure to the finished length and note the hardware type. A reputable curtain maker will adjust for the heading allowance, but it helps to provide accurate numbers and photos of your setup.
Step 5: Check for Obstacles and Special Situations
Windows are not always simple rectangles. Watch out for:
- Radiators: Curtains should not block heat. Consider a shortened drop or a window treatment that sits above the radiator.
- Window handles: Allow clearance so curtains can hang freely without catching.
- Sloping ceilings: Measure the drop at the lowest point of the slope.
- Corner windows: Use a single track that follows the corner, or two rods that meet neatly.
- Bay windows: Measure each section separately and decide whether to use one continuous track or individual rods.
Step 6: Double-Check and Record Everything
Before you order fabric, repeat every measurement. Compare your first and second readings. If they differ, measure again. Record the following for each window:
- Mounting style (inside or outside)
- Coverage width
- Fullness ratio and total fabric width
- Drop measurement and finished length style
- Hardware type and position
- Number of panels
Keep this record with your fabric samples. If you hire a maker, share it along with photos of the window and hardware.
Common Measuring Mistakes to Avoid
Even experienced decorators slip up. Avoid these frequent errors:
- Using a cloth tape measure that stretches
- Measuring only one side of the window
- Forgetting to add fullness, resulting in flat, skimpy curtains
- Mounting the rod too low or too narrow, making the window look small
- Ignoring the heading allowance for eyelet or pleated styles
- Ordering fabric before checking pattern repeat, which affects total yardage
Final Thoughts on Measuring for Fabric Curtains
Measuring windows for fabric curtains is a skill that rewards patience. Take your time, measure twice, and think about how the curtains will hang, stack, and interact with the room. When you get the width, drop, and fullness right, your fabric curtains will look custom-made, hang beautifully, and last for years. If you are ever in doubt, order a little extra fabric or consult a professional curtain maker, because a small investment in accuracy now saves a large expense later.