
 English
 简体中文
简体中文 Русский
 Español
 Deutsch
Supply programme
How to Calibrate a Digital Multimeter: Step-by-Step
Learn how to calibrate a digital multimeter step by step. Covers equipment, DC/AC voltage, resistance, current, tolerance checks, and documentation. Start now!
Why Calibrating Your Digital Multimeter Matters
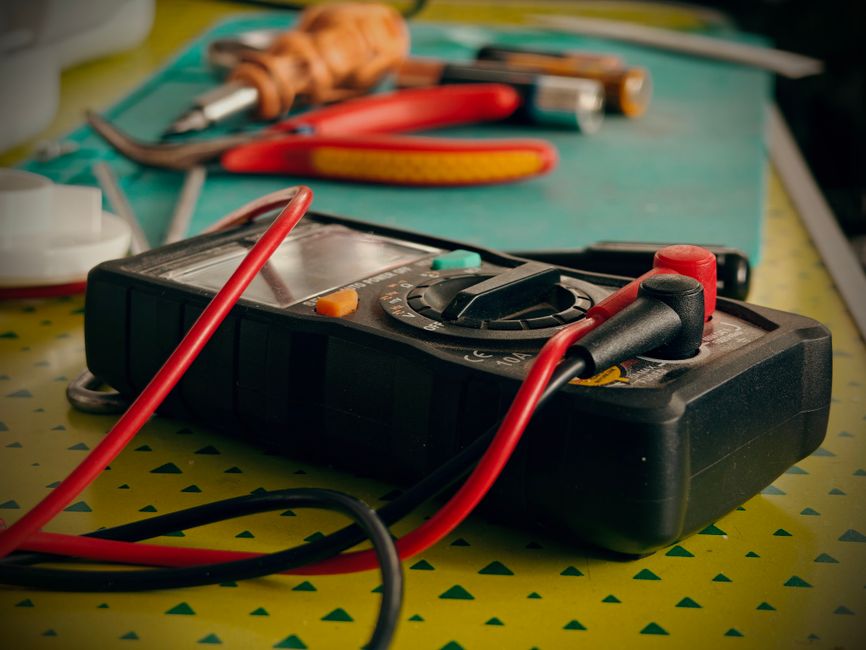
A digital multimeter (DMM) is one of the most trusted tools in any electrical or electronics toolkit. It measures voltage, current, resistance, and often continuity, capacitance, and frequency. But like any precision instrument, its accuracy drifts over time due to thermal stress, mechanical shock, component aging, and environmental exposure. A multimeter that reads 121 V when the line is actually 120 V may seem harmless, but in calibration labs, production testing, or safety-critical diagnostics, even a small error can lead to failed audits, rejected products, or unsafe decisions.
Calibration is the process of comparing your multimeter's readings against a known reference standard and adjusting it (when possible) so that its displayed values match the true value within a specified tolerance. This step-by-step guide walks you through the entire process, from gathering the right equipment to documenting your results.
Understanding Calibration vs. Adjustment vs. Verification
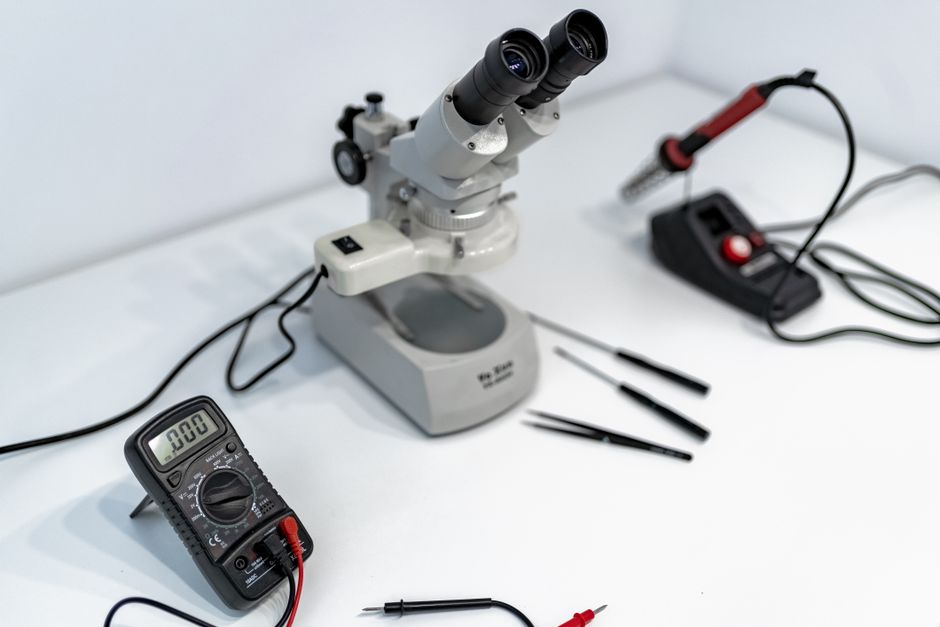
Before you begin, it helps to separate three related terms that are often used interchangeably:
- Verification: You check the meter's reading against a standard and record the deviation. No changes are made.
- Adjustment: You physically or digitally alter the meter so its readings align more closely with the standard.
- Calibration: The complete process of comparison, adjustment (if needed), and documentation. A calibration certificate usually reports both the "as found" and "as left" data.
Many modern DMMs have no user-accessible adjustment for individual ranges. In that case, calibration becomes a verification with a documented uncertainty, and out-of-tolerance meters are either sent for factory service or replaced.
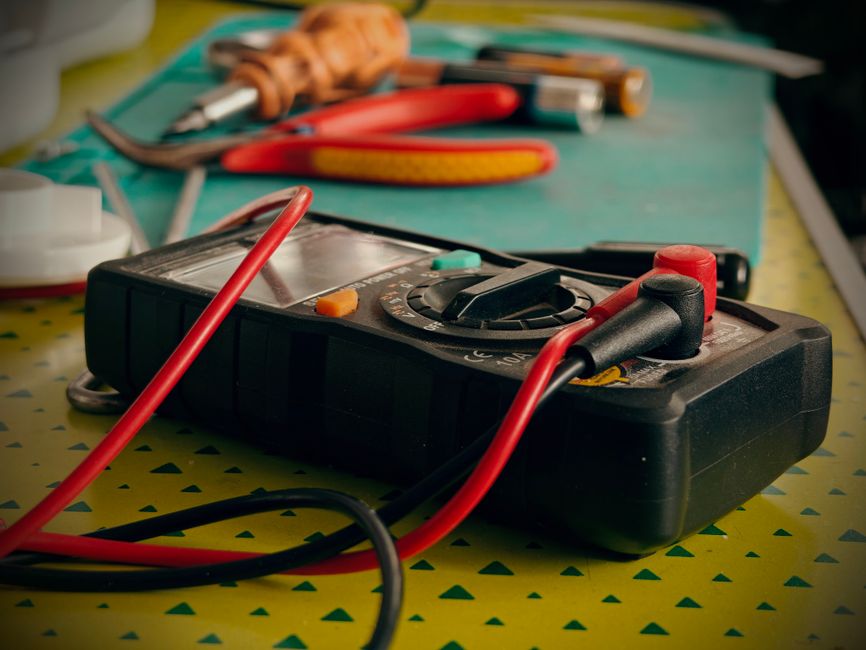
Equipment You Will Need
Accuracy is only as good as your reference. The following items are essential for a meaningful calibration:
- A calibration standard: A precision voltage source, a multifunction calibrator (such as a Fluke 5520A or 5080A), or a recently calibrated reference DMM with higher accuracy than the unit under test.
- Test leads: High-quality, low-thermal-EMF leads. Damaged or oxidized leads are a common source of error.
- A stable environment: Temperature between 18 °C and 28 °C (23 °C ± 5 °C is typical), stable humidity, and no strong electromagnetic interference.
- Documentation: The manufacturer's calibration procedure, accuracy specifications, and a calibration record sheet.
- Small tools: A trim tool or screwdriver for potentiometer-based adjustments, and a stable, non-conductive work surface.
Step-by-Step Calibration Procedure
Step 1: Preparation and Safety
Power off the multimeter and remove it from any live circuit. Inspect the case, battery compartment, and fuse for damage. A weak battery can cause erratic readings, so replace it if the low-battery indicator appears. Allow both the multimeter and the reference standard to stabilize at room temperature for at least 30 minutes before starting. This warm-up period is critical because internal references and resistor networks drift with temperature.
Step 2: Perform a Visual and Functional Check
Turn the meter on and check the display, rotary switch, and input jacks. Verify that the fuse is intact by testing continuity or resistance in the appropriate mode. Confirm that all functions respond and that the display shows zero when the leads are shorted in resistance mode (after subtracting lead resistance).
Step 3: Calibrate DC Voltage
DC voltage is the foundation of most DMM calibrations. Connect the calibrator or reference source to the multimeter's VΩmA and COM jacks. Apply a series of test points across the ranges you use most, for example:
| Range | Test Point | Typical Tolerance |
|---|---|---|
| 200 mV | 100 mV | ±0.05% + 3 counts |
| 2 V | 1 V | ±0.05% + 2 counts |
| 20 V | 10 V | ±0.05% + 2 counts |
| 200 V | 100 V | ±0.05% + 2 counts |
| 1000 V | 500 V | ±0.1% + 2 counts |
Record the displayed value at each point. If the meter has a calibration potentiometer or a digital calibration mode, adjust it according to the manufacturer's instructions. Always start with the lowest range and work upward.
Step 4: Calibrate AC Voltage
Switch to AC voltage mode and apply a known AC signal, typically at 50 Hz or 60 Hz, and also at a higher frequency such as 1 kHz if your meter specifies AC bandwidth. AC calibration is more sensitive to waveform shape, so use a pure sine wave from the calibrator. Note that true-RMS meters will read accurately for non-sinusoidal waveforms, while averaging meters will not.
Step 5: Calibrate Resistance
Use precision resistors or a resistance calibrator. Test at several decade values such as 100 Ω, 1 kΩ, 10 kΩ, 100 kΩ, and 1 MΩ. Keep test leads short and use a two-wire or four-wire connection as appropriate. For high resistance values, guard against leakage currents and avoid touching the leads with your fingers.
Step 6: Calibrate DC and AC Current
Current calibration requires a source capable of delivering the test current through the meter's current jacks. Verify the fuse first, because a blown current fuse will give a false zero reading. Apply test currents such as 10 mA, 100 mA, 1 A, and 10 A depending on the meter's ranges. For AC current, use a stable sine wave and check the frequency response.
Step 7: Verify Additional Functions
Depending on your model, you may also need to check continuity, diode test, capacitance, frequency, and temperature. These functions are usually verified rather than adjusted, but they should still be recorded on the calibration certificate.
Interpreting Results and Calculating Error
For each test point, calculate the error using:
Error (%) = ((Displayed Value − True Value) / True Value) × 100
Compare the error against the manufacturer's specification for that range. Remember that specifications are usually written as a percentage of reading plus a number of counts (digits). For example, a reading of 10.002 V against a true 10.000 V on a 20 V range with a ±0.05% + 2 count spec is within tolerance, because the allowable error is 0.005 V plus 0.002 V, or 0.007 V total.
How Often Should You Calibrate?
Most manufacturers recommend annual calibration for handheld DMMs used in general service. However, the right interval depends on usage:
- Annual: Standard for lab and field meters with moderate use.
- Every 6 months: High-accuracy benchtop meters, or meters used in regulated environments.
- After any event: Dropping the meter, exposing it to extreme temperatures, or replacing internal components warrants immediate recalibration.
Practical Tips for Better Results
- Always use the shortest, highest-quality leads you can, and keep them away from power cables.
- Let the meter and standard warm up fully; a cold meter can be off by several counts.
- Null out lead resistance before low-ohm measurements.
- Take multiple readings and average them to reduce noise.
- Record ambient temperature and humidity on your calibration record.
- Never adjust a meter unless you have a valid traceable standard; otherwise you may make it worse.
Documentation and Traceability
A calibration without documentation is of little value in an audit. Your record should include the meter's make, model, and serial number; the calibration date; the name of the technician; the reference standard used and its calibration due date; environmental conditions; as-found and as-left data; and a statement of conformity. If you need ISO/IEC 17025 accreditation, send the meter to an accredited laboratory, which will issue a certificate with a stated measurement uncertainty.
When to Send Your Multimeter to a Professional Lab
If your meter has no user adjustments, if it fails multiple ranges, or if you require traceable accreditation, professional calibration is the safer choice. Accredited labs have the environment, standards, and procedures to calibrate to tight tolerances and provide the documentation your quality system requires. For everyday users, a periodic verification against a known-good reference meter is often enough to catch drift before it becomes a problem.
Conclusion
Calibrating a digital multimeter is a disciplined process of preparation, comparison, adjustment, and documentation. By following these steps, using a traceable standard, and respecting environmental conditions, you can keep your meter accurate and your measurements trustworthy. Whether you calibrate in-house or send your instrument to an accredited lab, the goal is the same: confidence that the number on the display reflects reality.
Instruments in scope
Browse all Models frequently quoted with this programme
Keep reading
Other supply programmes
Best Thermal Imaging Cameras for Electrical Testing 2025 Discover the best thermal imaging cameras for electrical testing in 2025. Compare FLIR, Fluke, Testo, and more with pros, cons, and ratings. Find your perfect tool! View solution How Often Should Multimeters Be Calibrated? How often should multimeters be calibrated? Experts recommend annual calibration for most DMMs. Learn the factors, costs, and best practices. Read the full guide! View solution Insulation Resistance Tester: How It Works & FAQ Discover what an insulation resistance tester is and how it works. Learn about applications, safety, and result interpretation. Ensure electrical safety today! View solution Types of Electrical Test Meters: Buyer's Guide Discover the different types of electrical test meters and how to choose the right one. Complete buyer‘s guide with features, tips, and comparisons. View solution
Start a programme like this
Send the channel you sell into, the measurement jobs you cover and your annual volume.