 English
 简体中文
简体中文 Русский
 Español
 Deutsch
Supply programme
How to Verify Chemical Raw Material Quality: 7 Steps
Learn how to verify chemical raw material quality in 7 practical steps. From supplier audits to analytical testing—ensure safety and compliance. Read now!

Why Chemical Raw Material Quality Verification Matters
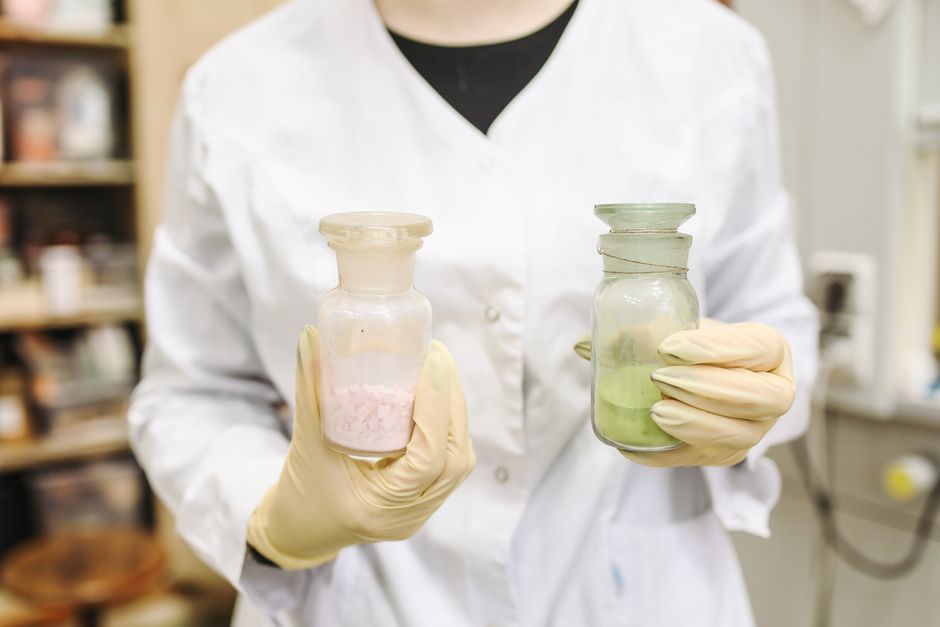
In the chemical industry, the quality of raw materials directly determines the safety, performance, and compliance of the final product. Whether you are producing pharmaceuticals, coatings, plastics, or agricultural chemicals, a single substandard batch of raw materials can lead to costly recalls, regulatory penalties, and reputational damage. Verifying chemical raw material quality is not just a formality—it is a critical risk-management process that protects your business and your customers.
This guide outlines a practical 7-step framework for verifying the quality of chemical raw materials, from supplier qualification to final laboratory analysis. Each step includes actionable tips that you can implement in your own quality assurance workflow.
Step 1: Qualify and Audit Your Suppliers
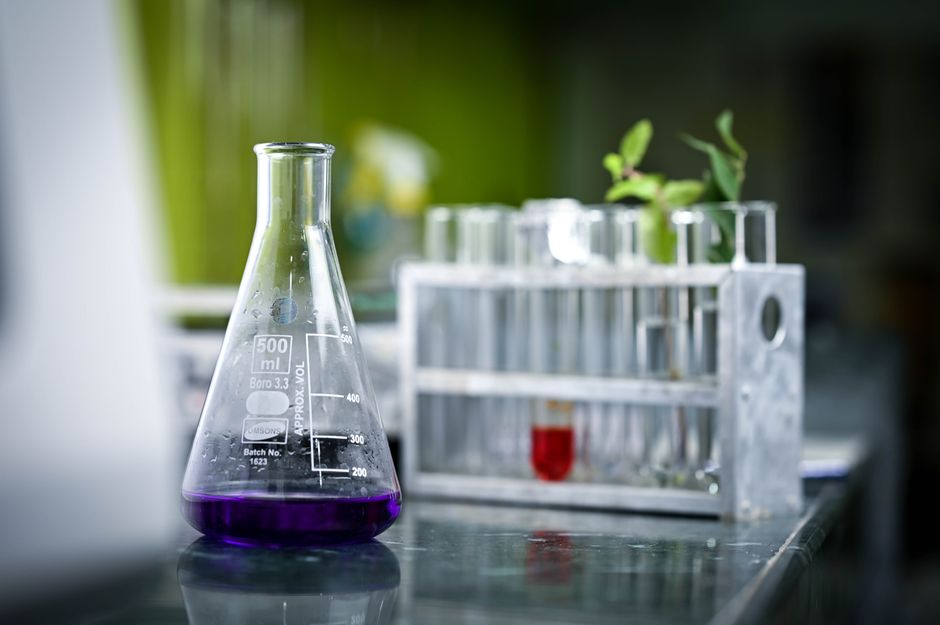
Quality verification begins long before a shipment arrives. The most reliable way to ensure consistent raw material quality is to work with qualified, audited suppliers.
What to Check During Supplier Qualification
- Certifications: Look for ISO 9001, ISO 14001, GMP, or REACH compliance depending on your industry.
- Reputation and history: Request references and review the supplier's track record in your sector.
- Manufacturing capability: Understand their production capacity, process controls, and quality management systems.
- Traceability: Confirm that the supplier can provide full documentation from raw material source to finished batch.
Conduct on-site audits or virtual audits when possible. A supplier that welcomes transparency is far more likely to deliver consistent quality.

Step 2: Review Certificates of Analysis (CoA) Carefully
A Certificate of Analysis (CoA) is the supplier's formal declaration of the material's specifications. However, a CoA is only as good as the supplier behind it.
Key Elements of a Reliable CoA
- Batch or lot number matching the shipment
- Test parameters and specification limits
- Actual test results with analytical methods referenced
- Date of manufacture and expiry or retest date
- Authorized signature and company seal
Do not accept generic or photocopied CoAs. Cross-check the batch number on the CoA against the labels on the drums or containers. If discrepancies appear, quarantine the shipment immediately.
Step 3: Perform Visual and Physical Inspection
Before opening any container, conduct a thorough visual inspection of the shipment.
What to Look For
- Packaging integrity: Check for leaks, dents, corrosion, or damaged seals.
- Labeling: Verify product name, CAS number, batch number, hazard symbols, and net weight.
- Appearance: Once opened, check color, consistency, and odor against expected standards.
- Temperature and storage conditions: Confirm the shipment was stored and transported within specified limits.
Document any anomalies with photographs and written notes. Even minor deviations can indicate deeper quality issues.
Step 4: Verify Identity Through Analytical Testing
Identity testing confirms that the material is what the label claims. This step is essential for preventing adulteration and cross-contamination.
Common Identity Tests
| Test Method | Purpose | Typical Application |
|---|---|---|
| FTIR Spectroscopy | Confirm molecular structure | Organic chemicals, polymers |
| GC-MS | Identify volatile compounds | Solvents, fragrances |
| HPLC | Separate and quantify components | Pharmaceutical intermediates |
| ICP-MS | Detect trace metals | High-purity reagents |
| Titration | Measure concentration or purity | Acids, bases, salts |
Use a combination of methods when possible. For high-risk materials, consider sending samples to an accredited third-party laboratory for independent verification.
Step 5: Assess Purity and Impurity Profiles
Purity is often expressed as a percentage, but the nature and concentration of impurities matter just as much. Impurities can affect reaction yields, product stability, and safety.
Impurity Testing Considerations
- Residual solvents: Especially important for pharmaceutical and food-grade materials.
- Heavy metals: Lead, arsenic, mercury, and cadmium must be within regulatory limits.
- Moisture content: Excess water can degrade moisture-sensitive chemicals.
- Isomeric composition: Some isomers may be inactive or hazardous.
Compare results against your internal specifications and applicable industry standards such as USP, EP, or ASTM. Any out-of-specification result should trigger a formal investigation.
Step 6: Validate Physical and Chemical Properties
Beyond identity and purity, functional properties determine how the material will perform in your process.
Properties to Validate
- Melting point or boiling point
- Density and specific gravity
- Refractive index
- pH or acidity/alkalinity
- Viscosity and particle size distribution
- Solubility in relevant solvents
Establish a historical database of property values for each material. Statistical process control (SPC) charts can help you detect trends and prevent problems before they escalate.
Step 7: Document, Approve, and Monitor
The final step is to formalize your verification process through documentation and ongoing monitoring.
Best Practices for Documentation
- Maintain a batch record for every incoming shipment.
- Record all test results, CoAs, and inspection notes in a centralized system.
- Use a formal approval or rejection workflow with clear responsibilities.
- Retain samples for a defined period for future reference or dispute resolution.
Implement a supplier scorecard that tracks quality performance over time. Suppliers with repeated deviations should be placed on probation or replaced.
Practical Tips for Building a Robust Verification System
- Risk-based approach: Focus more resources on high-risk or high-value materials.
- Training: Ensure receiving and QC staff are trained on inspection and testing procedures.
- Technology: Use LIMS (Laboratory Information Management Systems) to streamline data capture and reporting.
- Communication: Maintain open dialogue with suppliers to resolve issues quickly.
- Continuous improvement: Review your verification process annually and update it based on new regulations and lessons learned.
Conclusion
Verifying chemical raw material quality is a multi-layered process that requires diligence, technical expertise, and strong supplier relationships. By following these seven steps—supplier qualification, CoA review, visual inspection, identity testing, purity assessment, property validation, and documentation—you can significantly reduce the risk of quality failures and protect your production process. Remember that quality verification is not a one-time event but an ongoing commitment to excellence.
In scope
Browse all Materials frequently supplied with this programme
Keep reading
Other supply programmes
Chemical Raw Material Price Trends 2024: Full Outlook
Explore 2024 chemical raw material price trends, category forecasts, regional variations, and practical procurement tips to protect your margins. Read now.
View solutionIndustrial vs Food Grade Chemicals: Key Differences
Learn the key differences between industrial and food grade chemicals. Compare purity, regulations, and costs. Choose the right grade for your application.
View solutionBulk Chemical Raw Materials Sourcing Guide
Complete guide to bulk chemical raw materials sourcing: specifications, supplier qualification, logistics, cost tips, and risk management. Optimize your procurement today.
View solutionChemical Raw Material Market Analysis Report 2024
In-depth 2024 chemical raw material market analysis: trends, regional insights, pricing, challenges, and opportunities. Stay ahead in the chemical industry.
View solutionStart a programme like this
Send the market you sell into, the materials you handle and the packing and documentation you need.